How to Draw a Pumpkin
Pumpkins come in all different shapes, so you can’t go wrong with a few wobbles in the lines. In this tutorial, you’ll learn how to draw a pumpkin in six easy steps, from the tall center to the rounded sides, plus the stem, curling vine, and color.
Kids or young learners can follow along with the images step by step, focusing on one section at a time, without stressing about the sections being perfectly shaped the same size. Beginning with light lines also helps to make adjustments to the curves before defining the final outline.
The pumpkin in this tutorial only has one basic shape to begin with, but every added section only makes it look wider and rounder. A thick stem and small curling vine complete the top. After coloring, it may look like a real pumpkin from the patch, but, at least, this one won’t require much lifting!
Want it on paper?
Every step on one sheet, sized for US Letter and A4.
1
Draw the Basic Pumpkin Shape
To begin with, make one tall rounded shape in the middle of the paper. The top should be slightly narrower than the bottom, and make sure that the sides are gently curving.
This first section will act as the center piece, so make sure to leave enough space on either side.

2
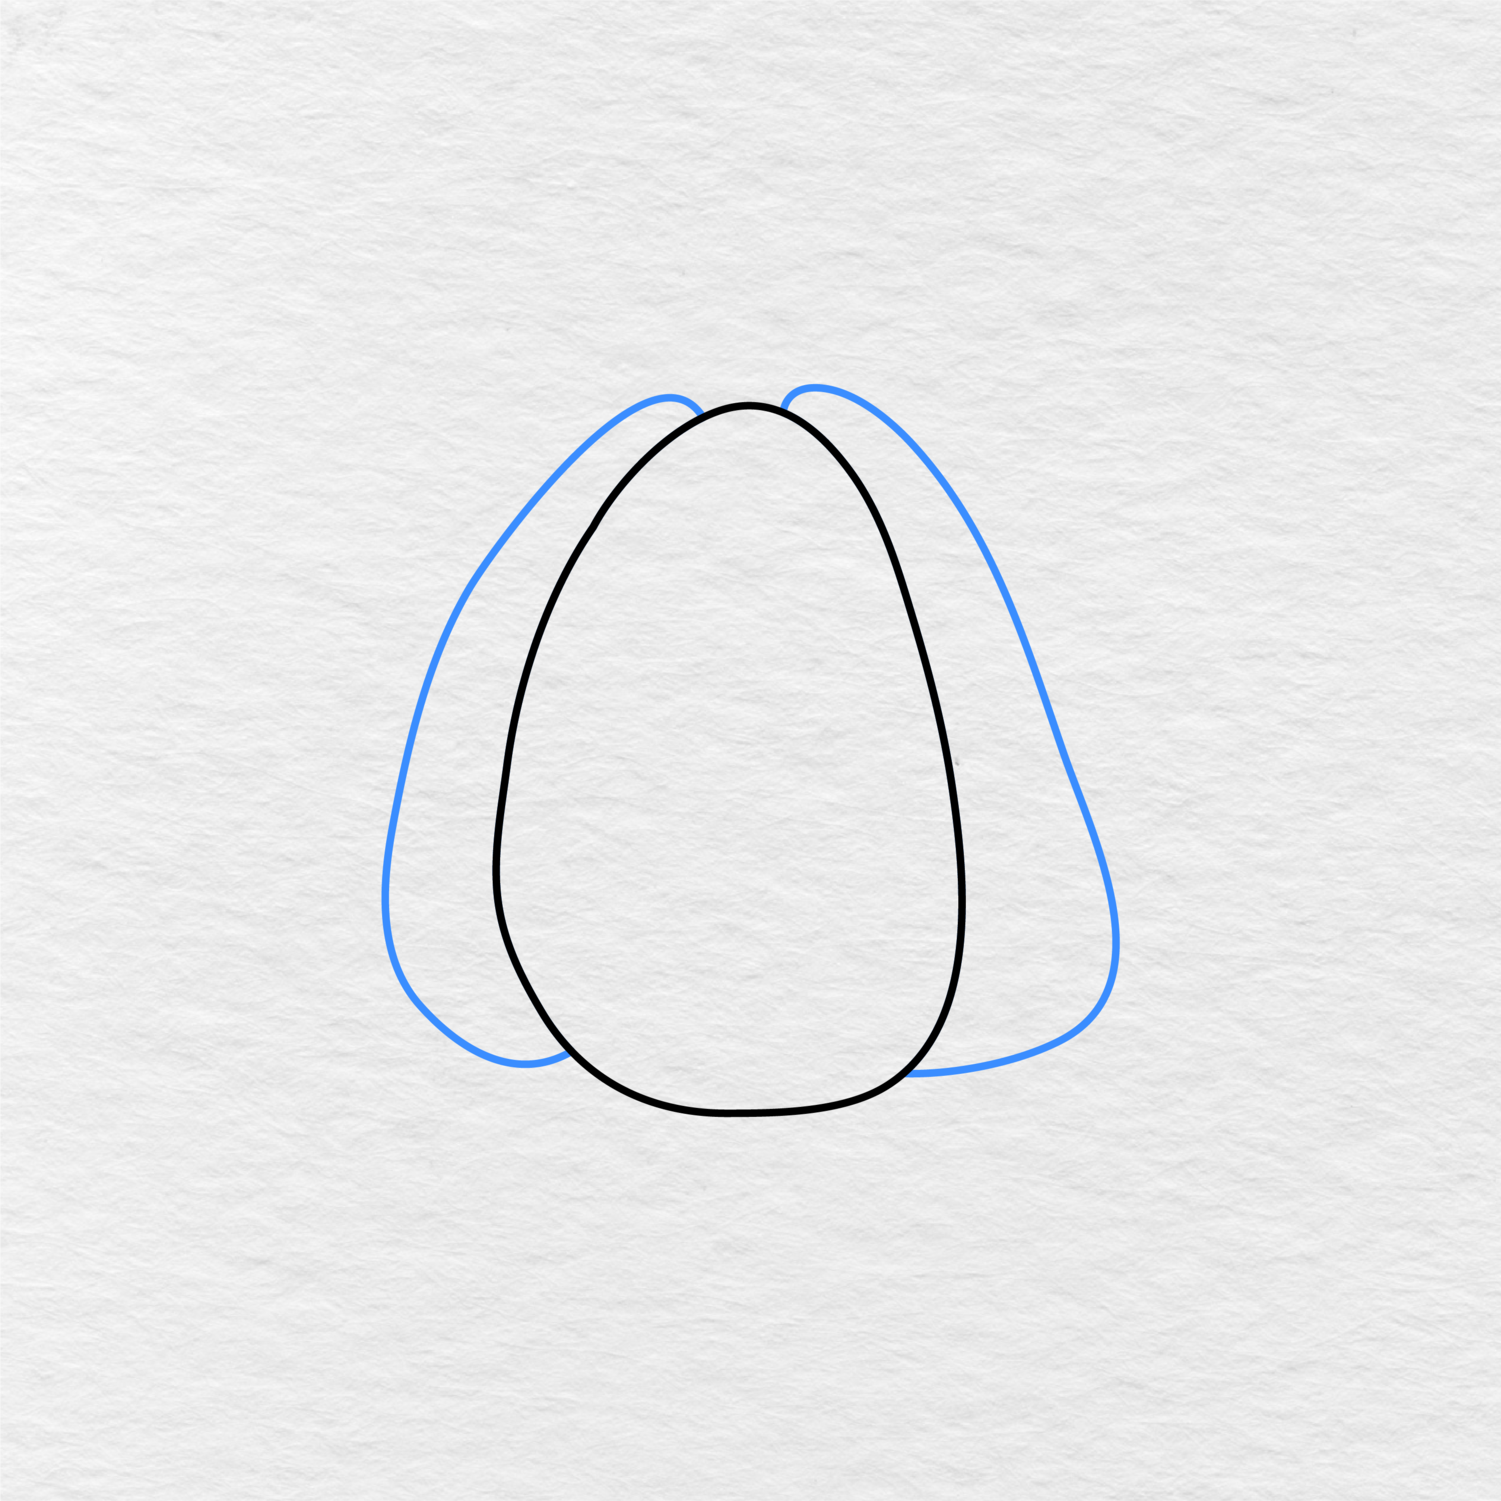
Add the Side Sections
Make one curved section on either side of the center piece. Begin each curve near the top of the center and allow the lines to spread out and come back together near the bottom.
Both of these sections should be placed so that they are slightly behind the center and create a wider rounded shape.
3
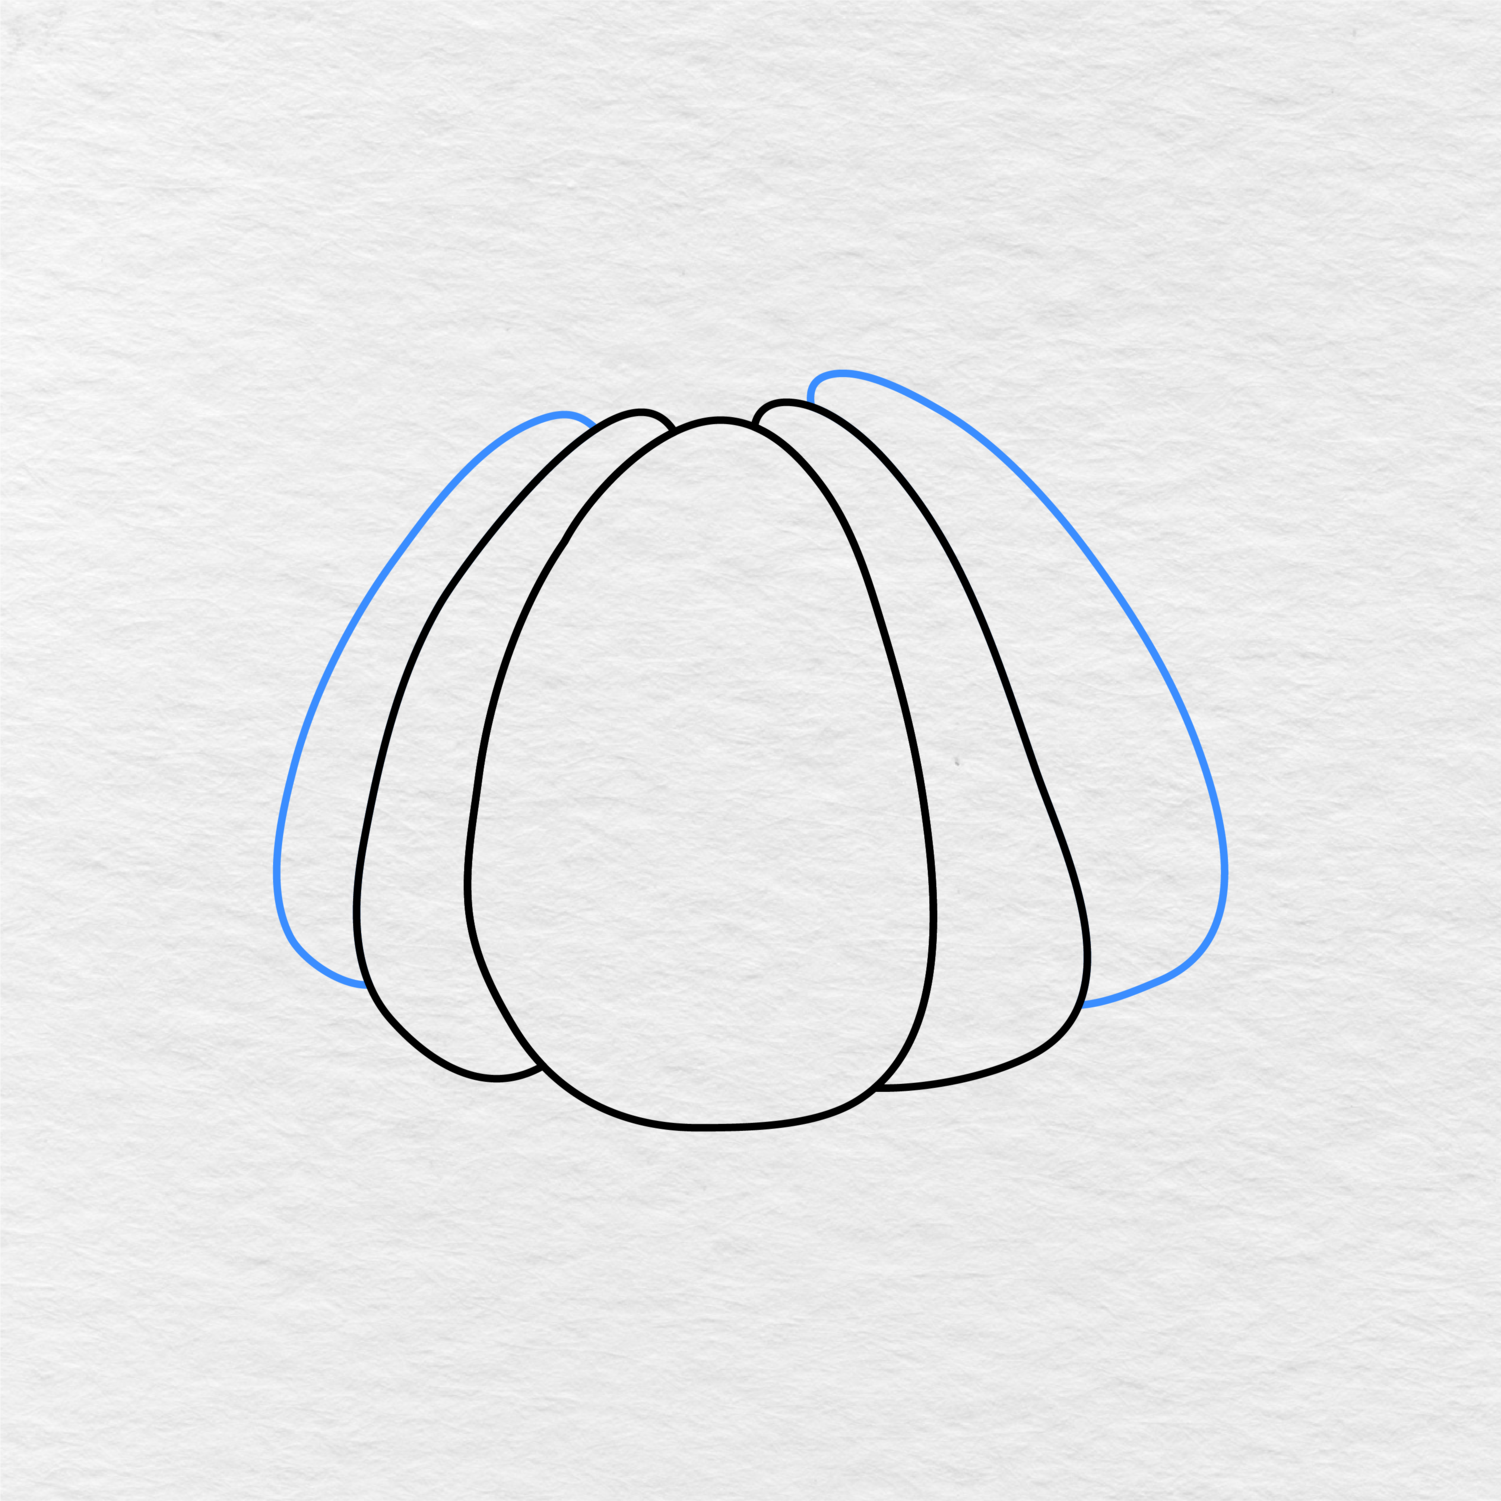
Draw the Outer Pumpkin Sections
Make one more curved section on the far left and another on the far right. Make sure to allow them to curve out and around the other sections.
With these sections added, the pumpkin should now have five clearly defined sections and an overall rounded shape.
4
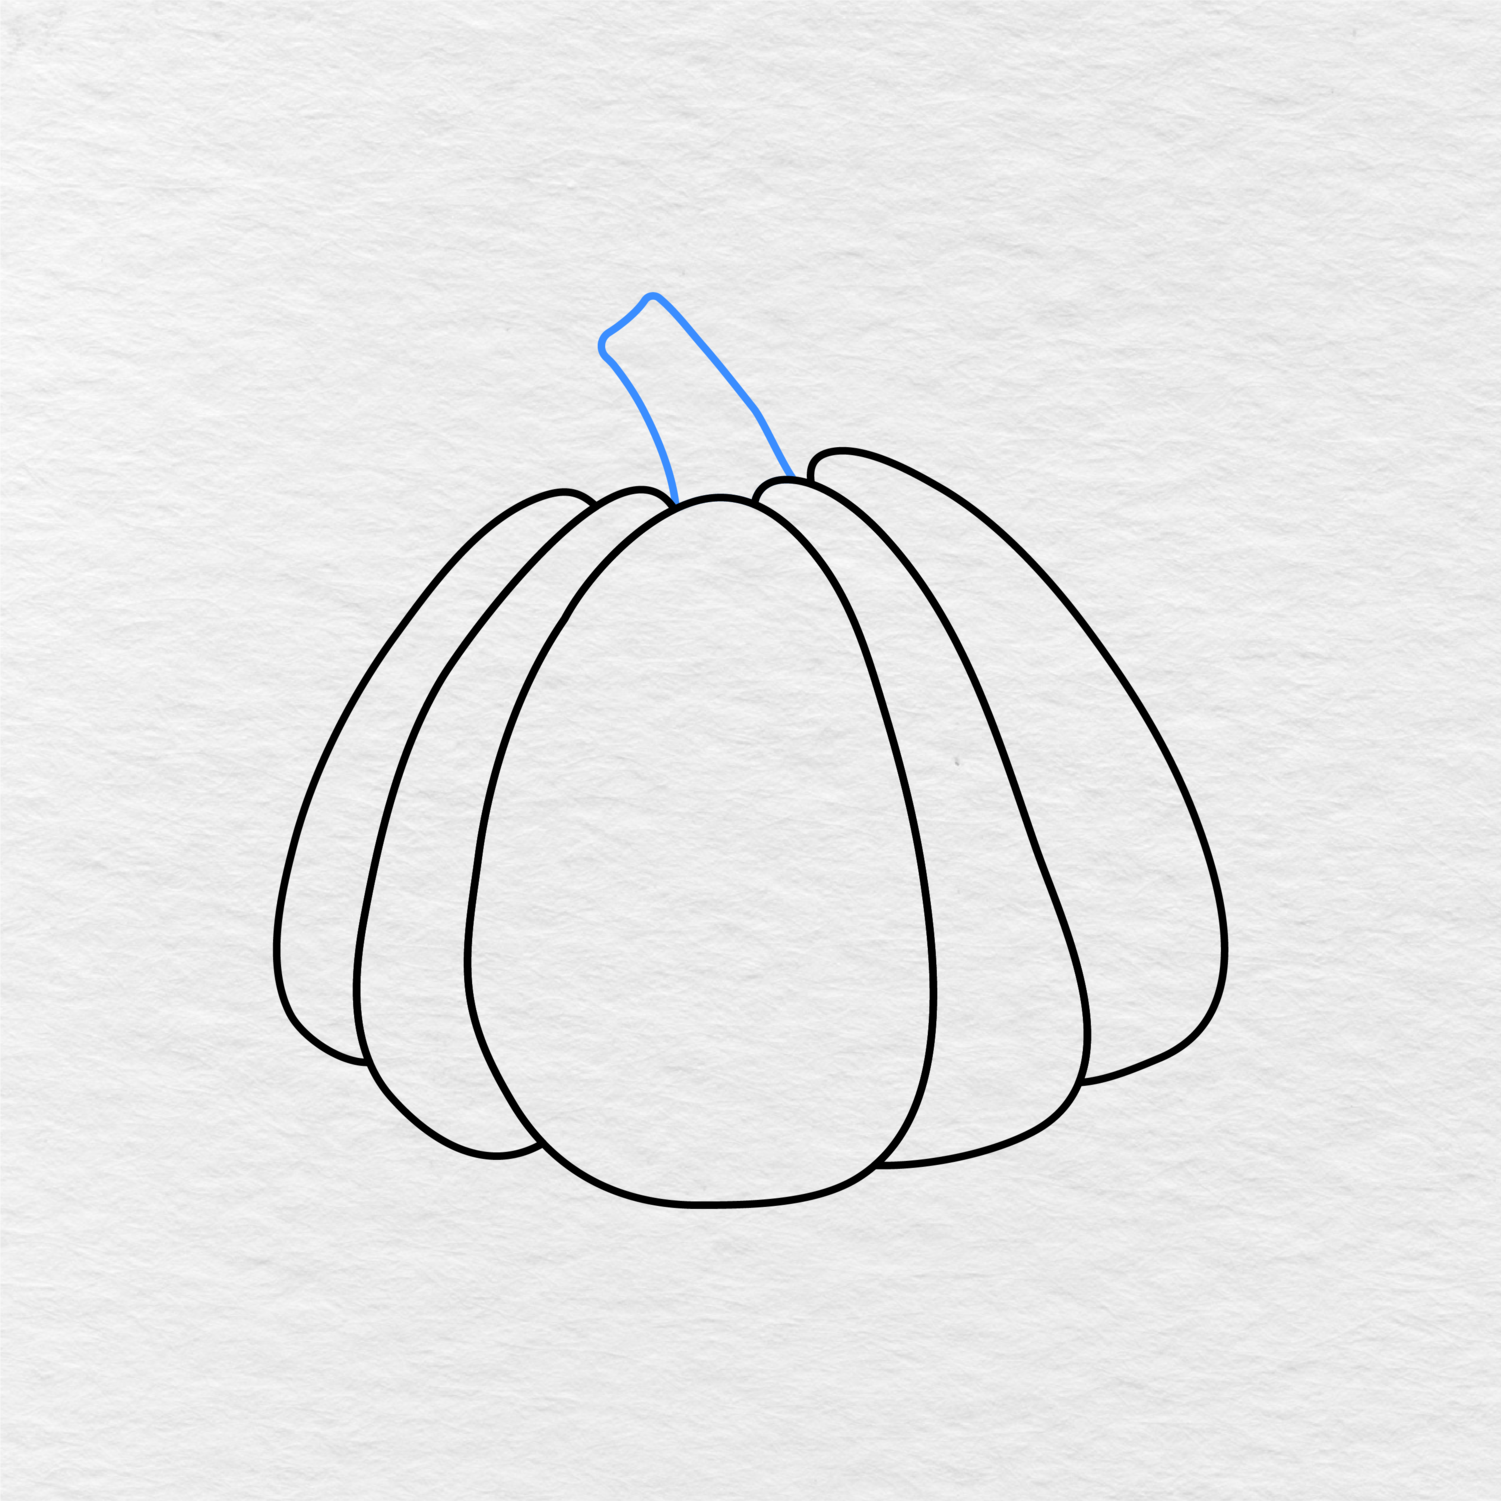
Add the Pumpkin Stem
Make a thick curved stem shape at the top of the pumpkin. Make sure to allow it to lean slightly to the left and make the top slightly narrower.
The bottom of the stem should also be placed so that it is slightly hidden by the pumpkin so that it looks like it grows right out of the pumpkin.
5
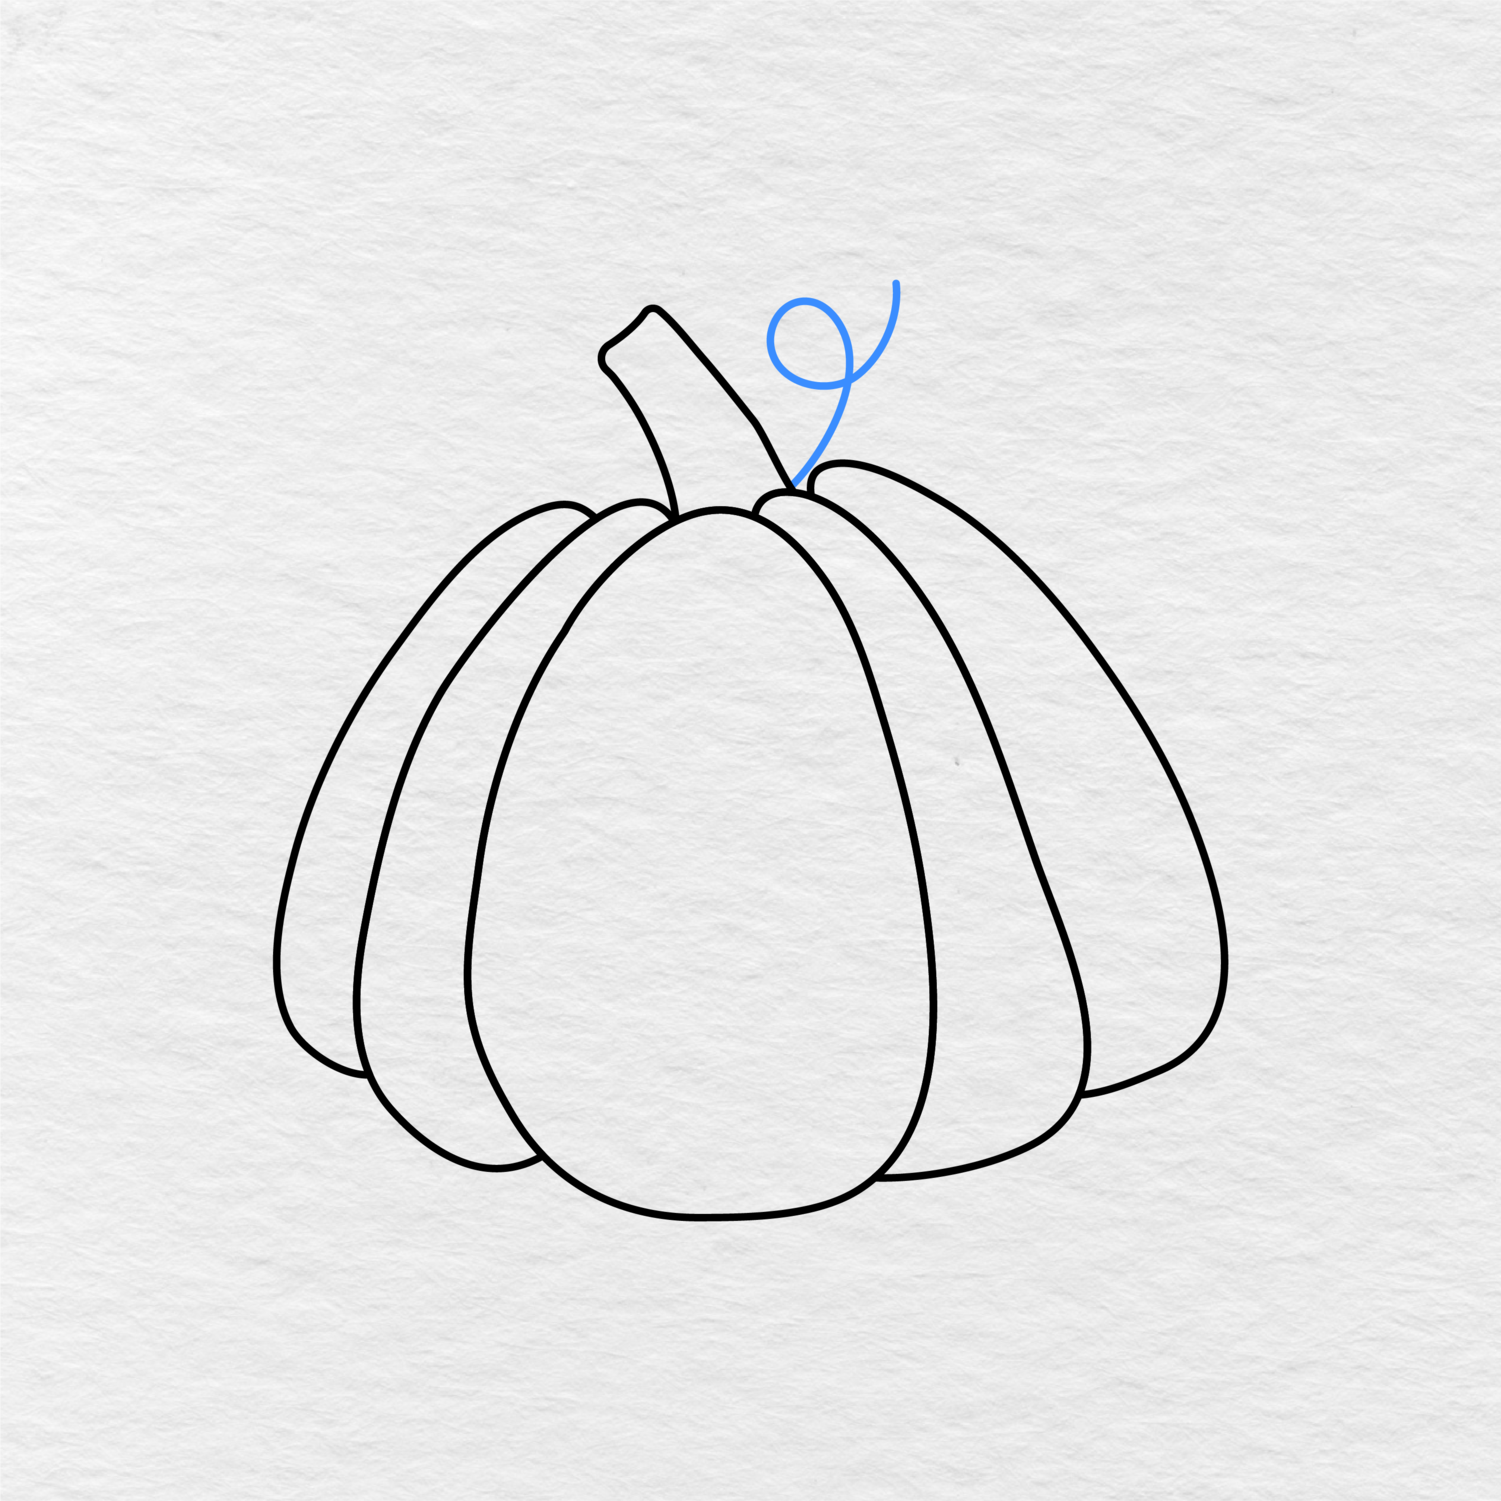
Draw the Curling Vine
Make a thin curved line next to the stem and loop it around once to make the curling vine.
The loop does not need to be perfectly round. It only needs to be slightly curled to give the top of the pumpkin a bit more detail.
6
Color the Pumpkin
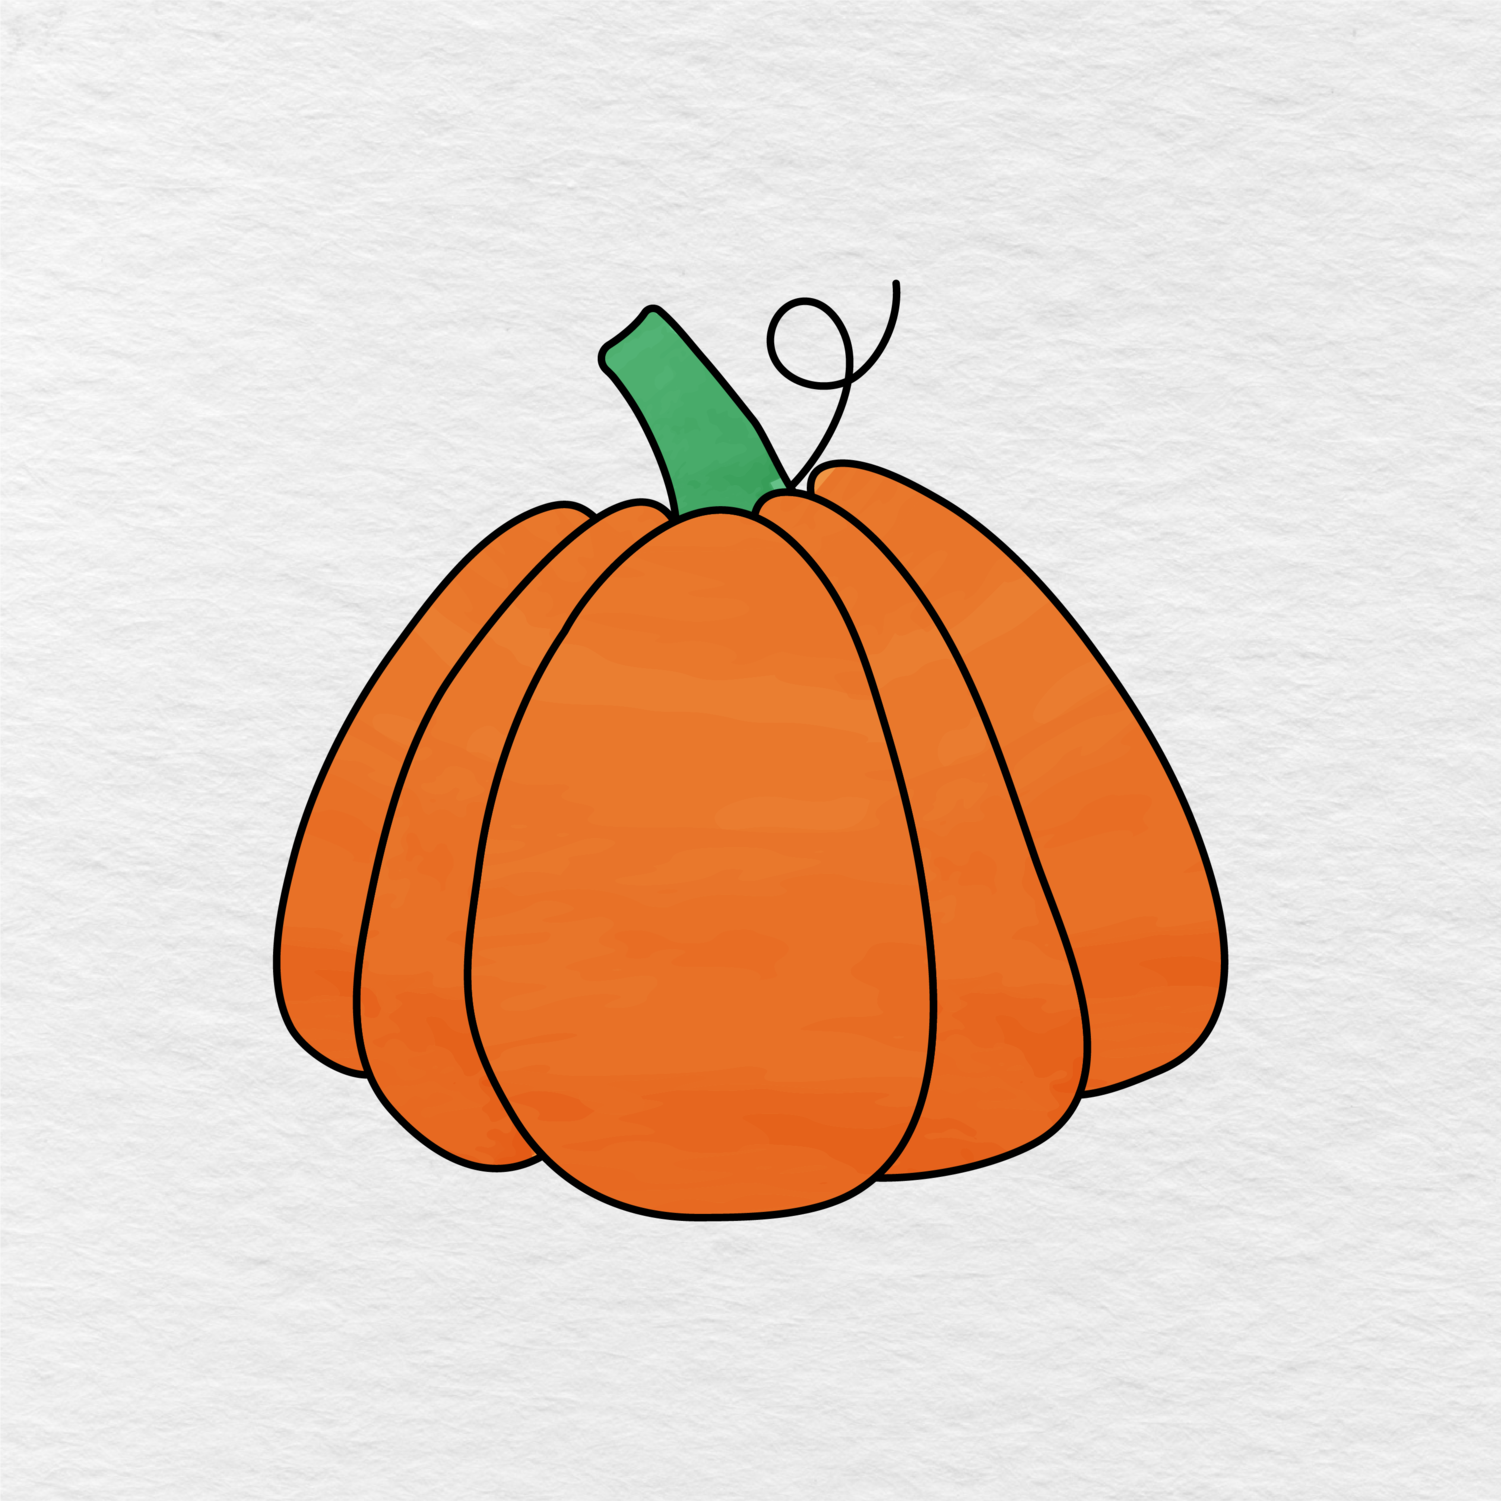
Use the image below as a guide when coloring. Make sure to leave the curling vine in black, the pumpkin orange, and the stem green.
You can use one shade of orange for the whole pumpkin or make each section a slightly different shade of orange. With the colors added, your easy pumpkin drawing is complete!
Frequently Asked Questions
How do you draw a pumpkin step by step?
Pumpkin drawing breaks down into just 6 easy steps in this guide, starting with the basic rounded pumpkin shape, then adding the side sections, outer sections, stem, and curling vine before the final coloring step. Because pumpkins naturally come in all sorts of lumpy, wobbly shapes, there is no pressure to make every line perfectly straight.
Is this pumpkin drawing guide good for kids and beginners?
Yes, it was designed for kids and beginning artists who want an easy, low pressure project, especially since pumpkins are forgiving shapes that still look right even with a wobble here and there. Each step focuses on just one section, so young learners can go at their own pace without feeling rushed.
What supplies do I need to draw a pumpkin?
All you need is a pencil, paper, an eraser, and coloring tools like crayons or markers to finish the drawing. There is nothing fancy required, which makes this a simple activity to pull together for a classroom, a rainy day, or a quick fall craft session.
Does this guide include the pumpkin stem and vine?
Yes, after the rounded body sections are drawn, the guide walks through adding the pumpkin stem and then the curling vine, which are often the trickiest parts for beginners to get right. Breaking them into their own separate steps makes them much easier to follow.
Can I print this as a pumpkin coloring page instead of drawing it freehand?
Yes, a printable pumpkin drawing PDF is included at the end of the guide for anyone who would rather color a ready made pumpkin than draw one from scratch. Click the image or the PDF download button to open it, then print and color the pumpkin however you like.
What colors work best for a pumpkin drawing?
Classic orange is the go to choice for the rounded body, with a brown or green stem and a green curling vine to finish it off. Kids can also experiment with white, yellow, or even painted style pumpkins if they want to try something different from the usual orange.
Easy Pumpkin Drawing Step by Step
Before beginning, get a pencil, paper, eraser, and coloring tools. The blue lines in the images below indicate the section that needs to be added in each step.
Printable Pumpkin Drawing PDF
You can also print out the completed pumpkin image below in PDF form and use it as a coloring page.
The image below does not have any color, so kids can print it out and use it as a reference for their own drawing or coloring page. For more printable coloring pages, check out our Fall & Autumn Coloring Pages.
If you liked this pumpkin drawing tutorial, let us know in the comments below! Sharing this page with another parent, teacher, or friend also helps us reach more people who love our resources.
Printing tips
Choose Fit to page and plain white paper. Every sheet is US Letter and prints correctly on A4 with default settings.
How to print our printables ›