How to Draw a Bear
Bears can appear intimidating in the wild, but they are portrayed more innocently in stories, children’s shows and teddy bears. Their plump ears, big bodies, small tails and sweet faces make them a fun animal to draw without having to worry too much about intricate details. In this step by step tutorial you’ll learn how to draw a bear in 9 easy steps.
This bear drawing is perfect for kids and beginners, as you’ll only need to follow simple instructions to add the bear body, head, ears and face. You’ll also learn how to finalize your animal art by adding the nose, mouth and coloring.
Although this drawing can seem big at first due to the bear’s body and head, much of it is made of simple curved and rounded lines. After adding the little ears, eyes and nose, this intimidating looking bear is ready to appear in your children’s storybook!
Want it on paper?
Every step on one sheet, sized for US Letter and A4.
1
Draw the Bear Body
Begin by adding simple rounded lines that form a big body. Create curves on the bear back and make the left side of the body a bit broader and rounded.
For now, add the big outlines of the bear body so you can leave enough room on the right for the bear head and front legs.

2
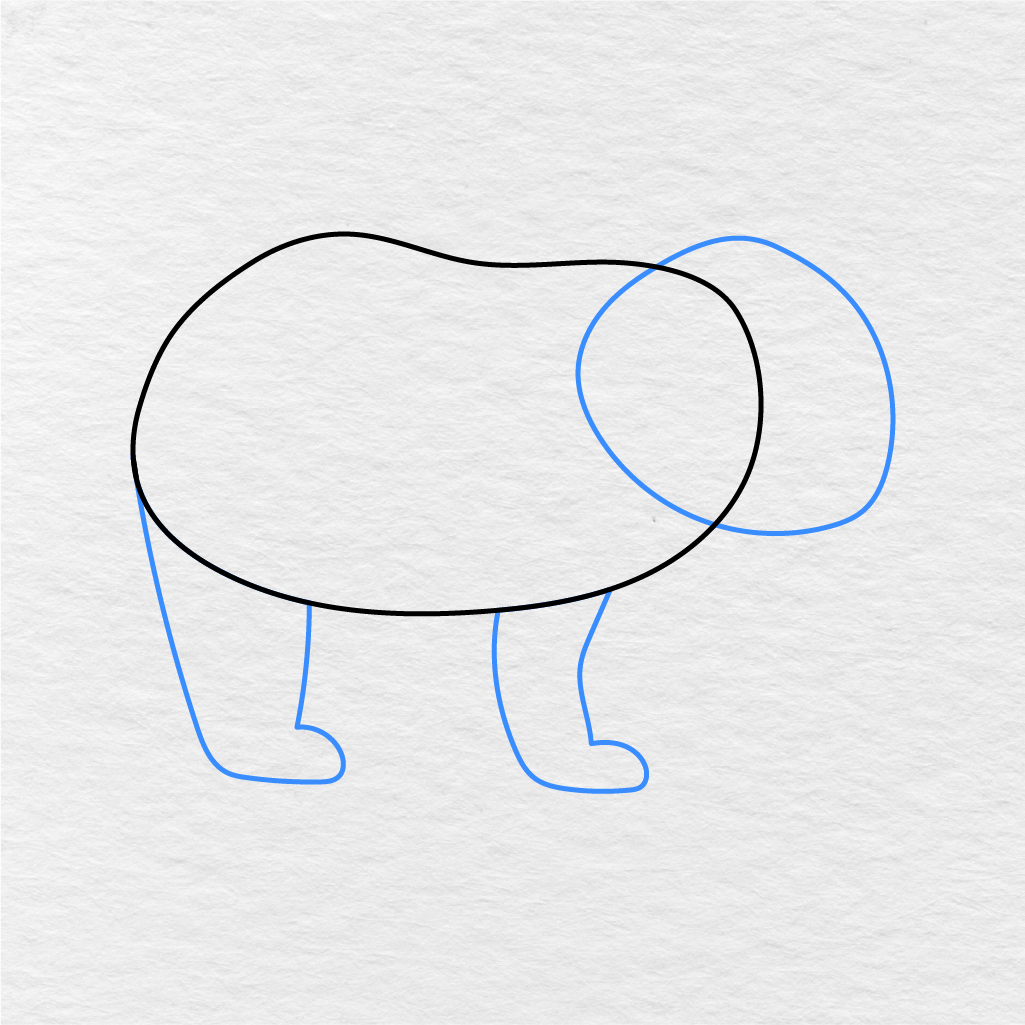
Add the Bear Head and Main Legs
Add a big rounded bear head on the right side of the body. Then use rounded lines again to add the main leg shapes at the bottom of the body.
Once again, don’t forget to leave enough space for the front legs and make the bear head slightly slanted.
3
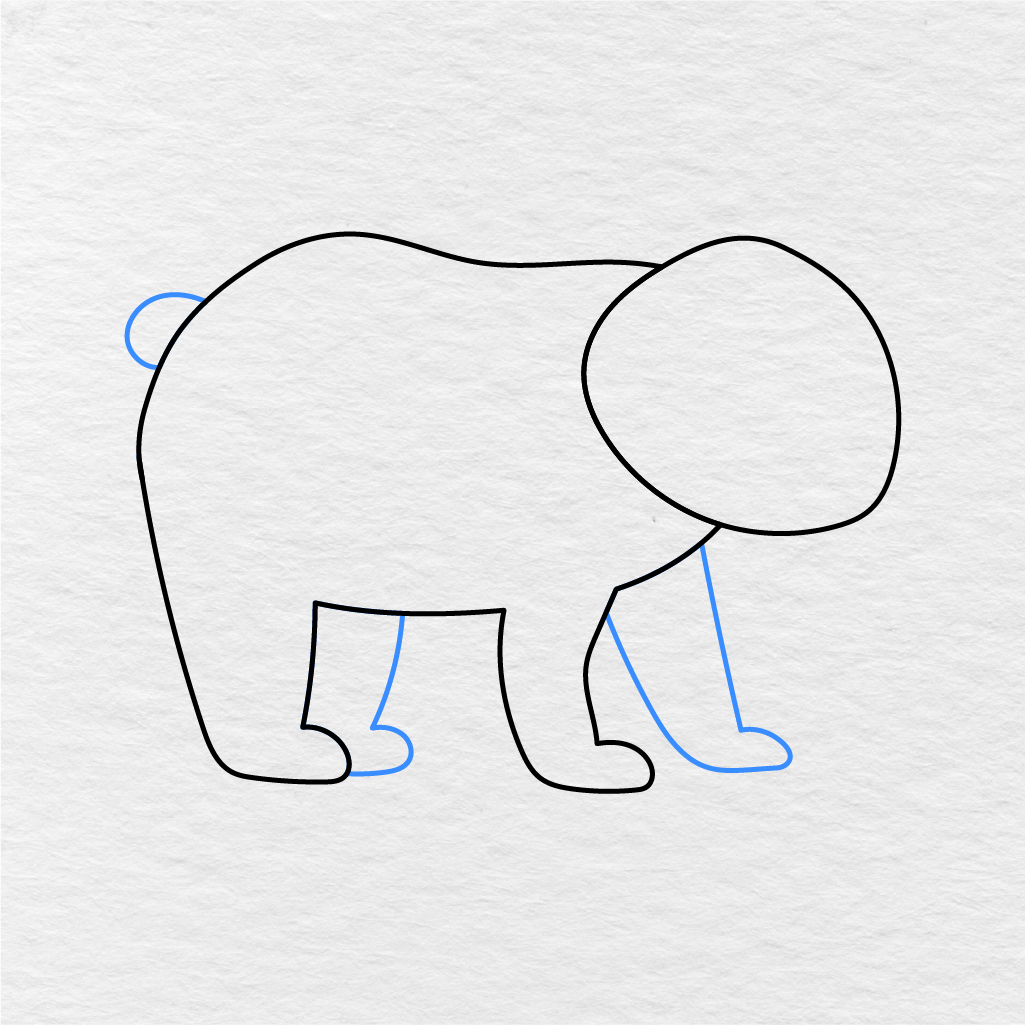
Draw the Tail and Extra Legs
Add a small rounded tail at the end of the bear body. Then add extra leg lines to make the front, back and middle legs more visible.
The bear tail and extra leg lines are important to define the whole bear figure and help it stand out.
4
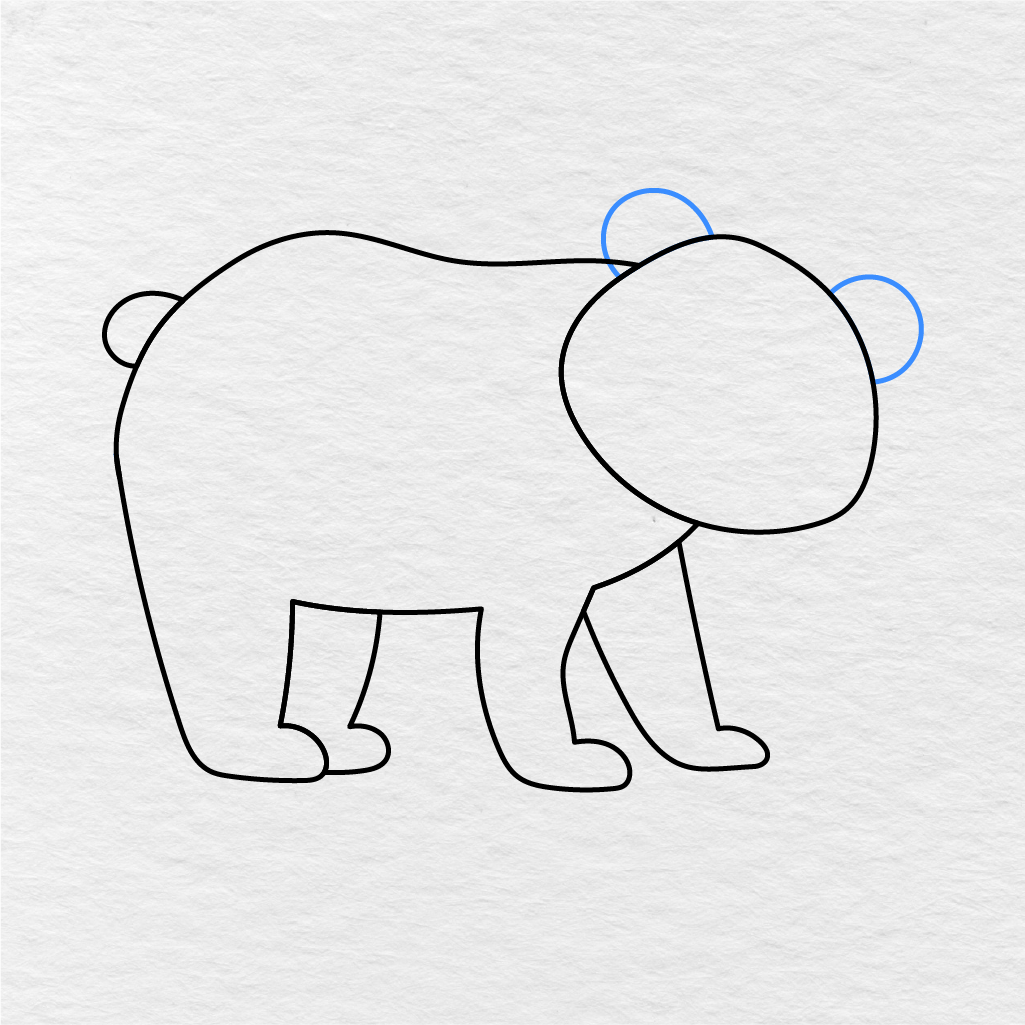
Add the Bear Ears
Add two rounded ear shapes to the bear’s head. Add one ear on the top of the head and another ear on the far side of the head.
Although the bear ears are just simple rounded or oval shapes, they will help define the whole bear figure.
5
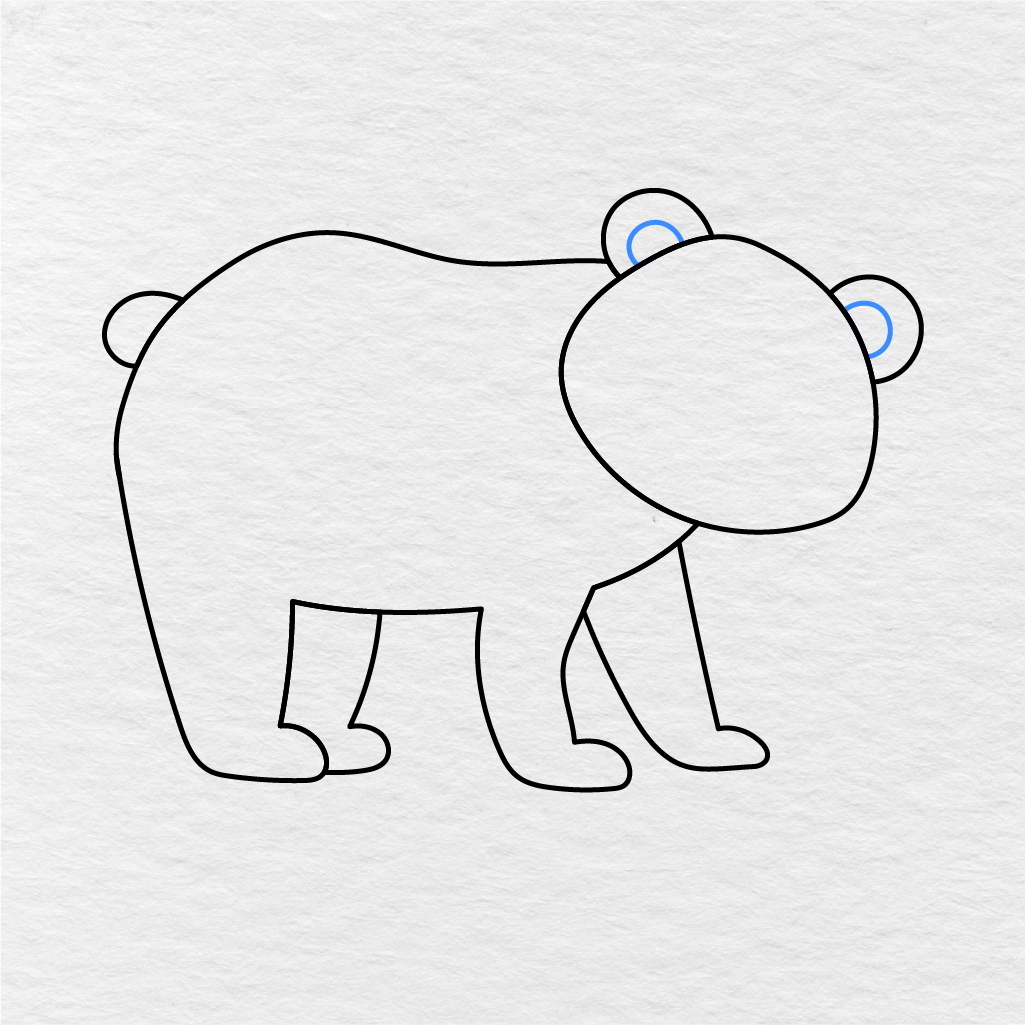
Add the Inner Ear Shapes
Now, add smaller rounded or oval shapes inside the two ears on the head to create the inner ear details.
6
Add the Muzzle
Add a rounded muzzle shape at the bottom part of the head to define this part of the face and prepare it for the next steps.
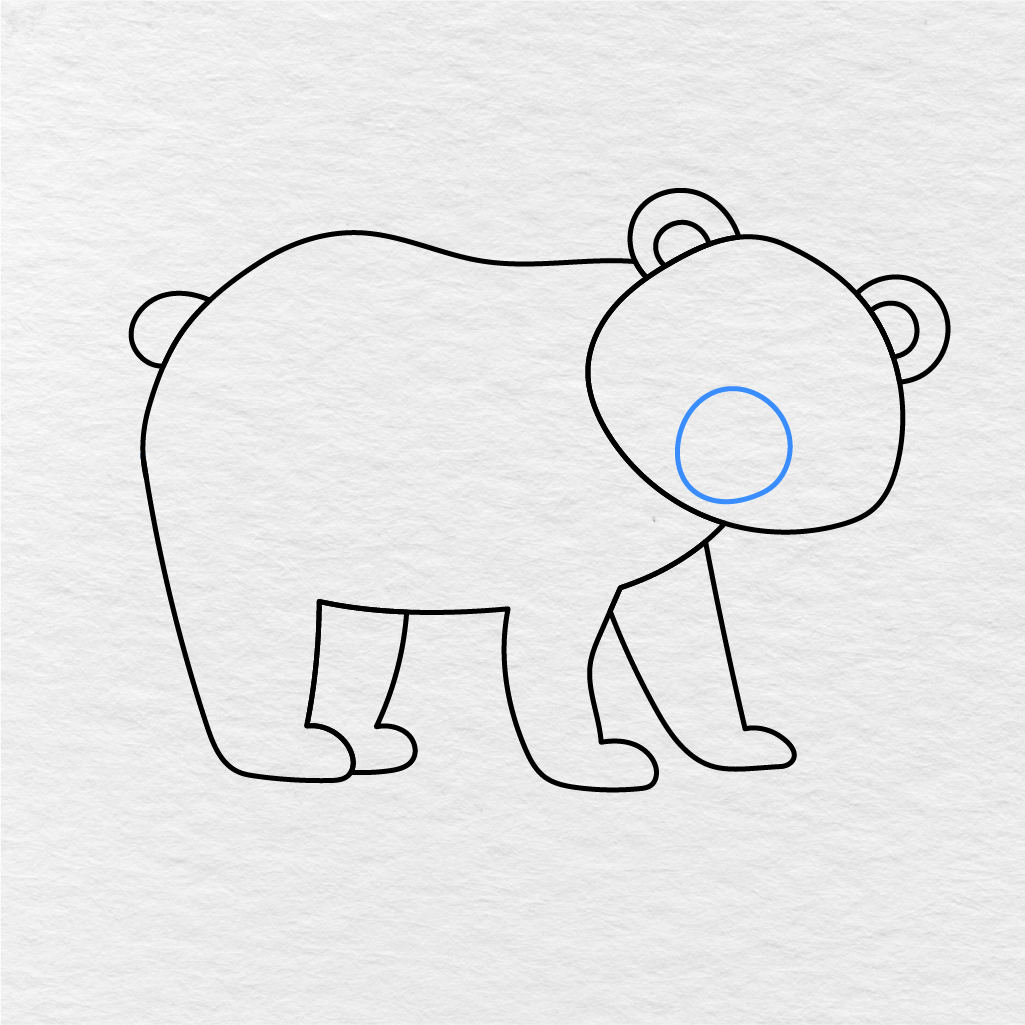
7
Add the Eyes
Add two small oval shapes for the bear eyes. Add one eye above the small muzzle you’ve added in the previous step and another eye to the side of it.
Although the eyes are small, they are an important part of the bear’s face. Make sure you add simple, visible oval shapes.
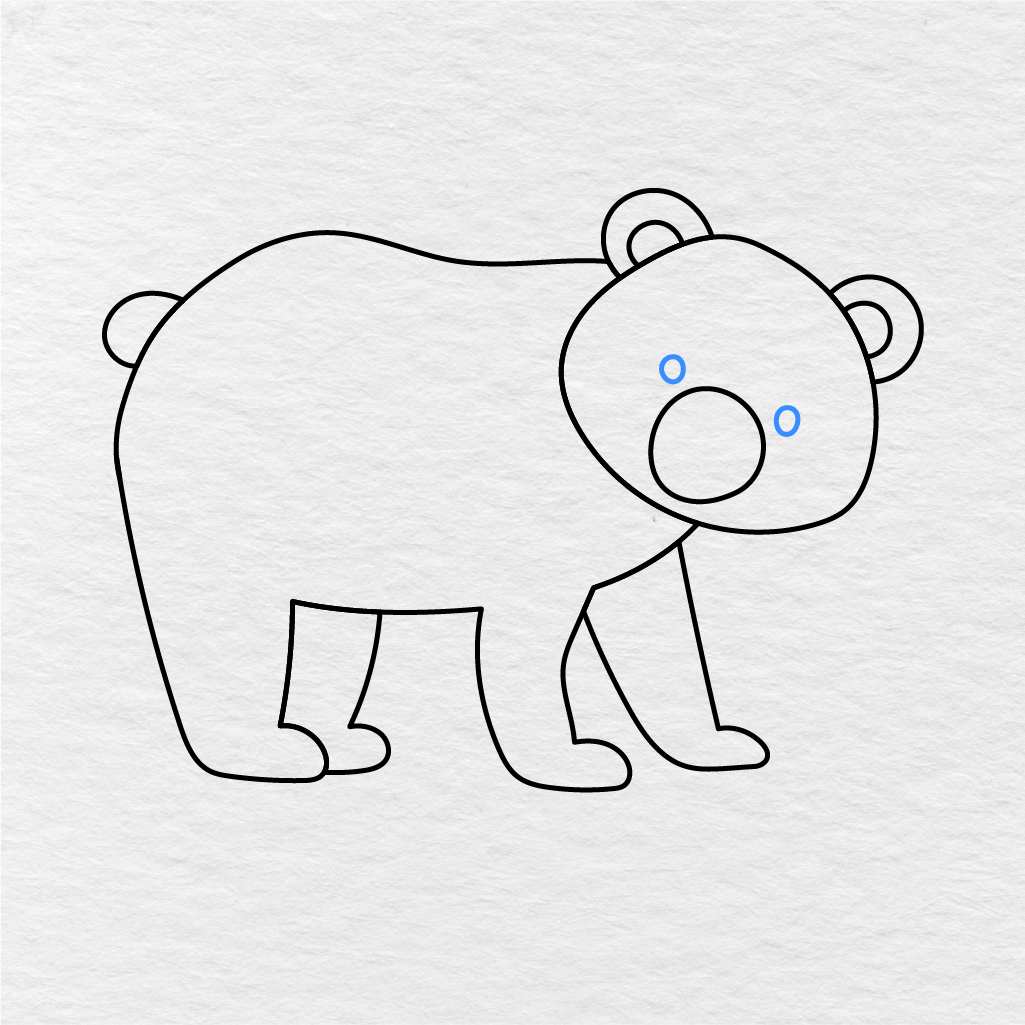
8
Add the Bear Nose and Mouth
Add an oval bear nose inside the muzzle you’ve created in step 6. Then add a small line at the bottom of the oval to finish the bear mouth.
The bear face is now complete and you can begin to color the drawing. Step 9 is to color your bear.
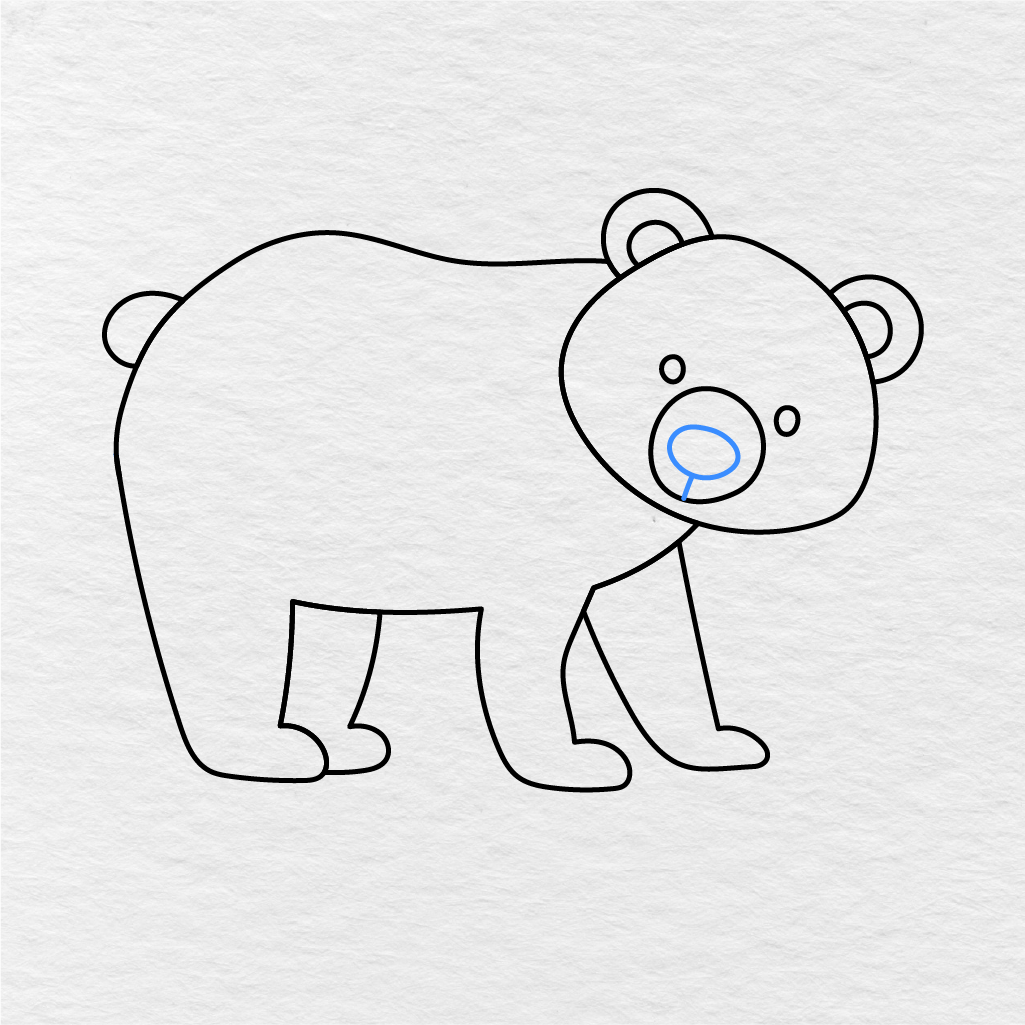
9
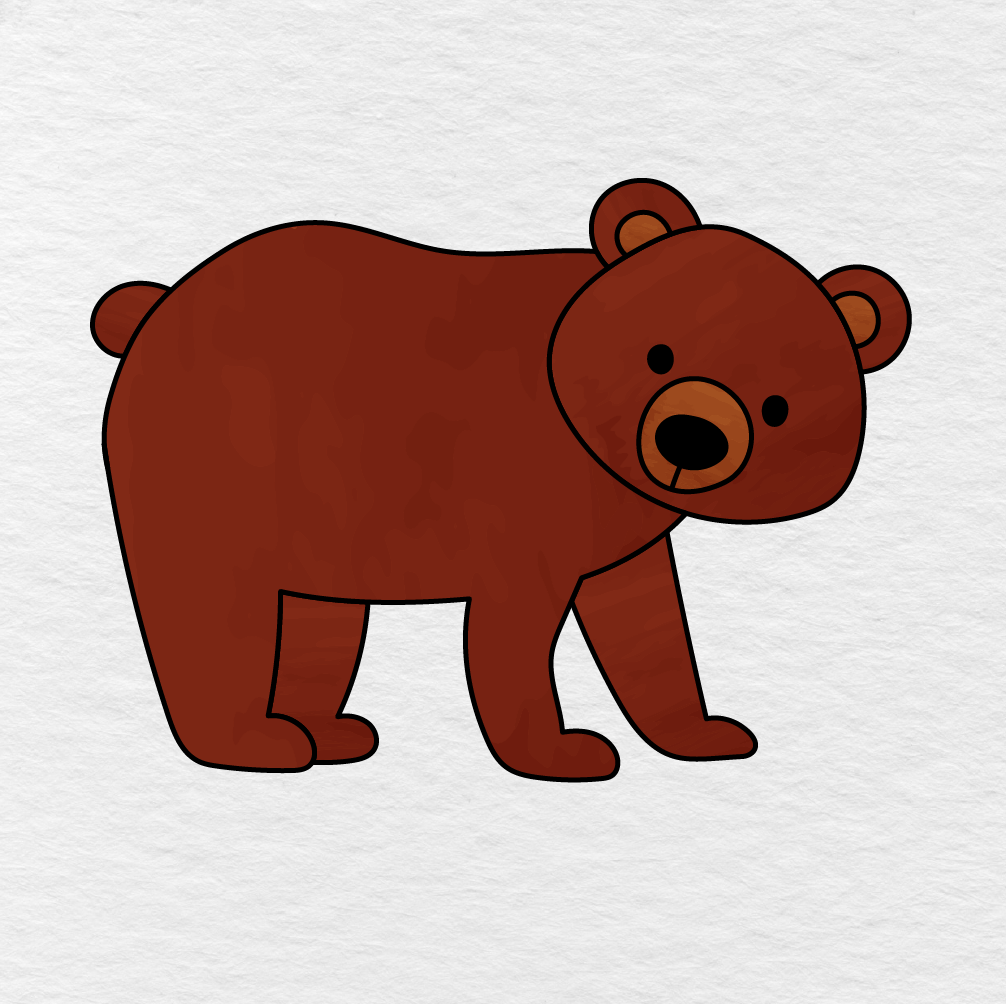
Color the Bear
Use the image below as an example and color your bear with the coloring tools you’ve selected.
In our example, we’ve used dark brown for the bear body, light brown for the muzzle and inner ears. We’ve also used black color for the eyes and nose. You can choose to use different colors, shades or even make the bear drawing appear lighter.
Now that you’ve colored your bear, your easy bear drawing is complete.
Frequently Asked Questions
How do I draw a simple cartoon bear in easy steps?
The bear drawing guide breaks the process into nine easy steps, starting with a rounded body shape and head, then adding the ears, snout, arms, and legs one piece at a time. Following each step in order keeps the proportions looking right, even if you have never drawn an animal before.
What basic shapes should I start with when drawing a bear?
Most cartoon bears start as two overlapping circles or ovals, a larger one for the body and a smaller one for the head, with small round shapes added for the ears and paws. Building from simple rounded shapes first makes it much easier to get a cute, friendly looking bear rather than something stiff or lopsided.
How can I make my bear drawing look cute instead of scary?
Keeping the body soft and round rather than angular, using bigger ears, and drawing a gentle smile with small eyes all help a bear look cuddly rather than fierce. This guide focuses on that plump, storybook style bear look, which is why it works so well for kids and beginners who want a friendly result.
Can I turn my finished bear drawing into a bear coloring page?
Yes, once you finish the pencil outline you can go over the lines with a marker and color it in just like a bear coloring page, using browns, tans, or even a fun unexpected color for a more playful look. Many kids like finishing their own drawn bear coloring page this way instead of printing one, since it feels more personal.
Do I need to already be good at drawing to follow this bear guide?
Not at all, the steps are designed for beginners and kids who have little to no drawing experience, using only simple circles, curves, and lines. Each step only adds one small part at a time, so you never have to figure out more than a tiny piece of the bear at once.
What supplies work best for finishing this bear drawing?
A pencil and eraser are all you need for the sketching steps, and then crayons, colored pencils, or markers work well for adding color once the outline is done. There is no need for anything fancy since the whole point of this guide is to get a great looking bear with basic supplies.
Easy Bear Drawing Step by Step
Before you begin, make sure you have a pencil, paper, eraser and coloring tools.
The blue lines in the images below indicate the lines you should add in each step.
Printable Bear Drawing PDF
You can also print the bear drawing below as a PDF file and complete it as a coloring page.
The image below shows the bear without the added colors, so you can print it for your kids, students or friends. They can color it in and use it as a reference for their own easy bear drawings.
Let us know in the comments below if you and your kids or students enjoyed this activity. Don’t forget to share this page with another parent, teacher or friend!
Printing tips
Choose Fit to page and plain white paper. Every sheet is US Letter and prints correctly on A4 with default settings.
How to print our printables ›