How to Draw a Cow
Cows are an essential part of farms and our everyday lives. Their milk is used in a lot of dairy products we know and love, such as yogurt, cheese, and butter. Many children are introduced to cows as one of their first animals on a farm. In this tutorial, you’ll learn how to draw a cow in 13 easy steps.
This easy cow drawing is perfect for children and beginners. We’ll start with two simple overlapping ovals and add a body, legs, tail, horns, ears, face, hooves, spots, and color.
For each step, we’ve indicated the part of the drawing that you should focus on with blue lines. Just follow along and have fun turning a few simple shapes into a cute little farm cow.
Want it on paper?
Every step on one sheet, sized for US Letter and A4.
1
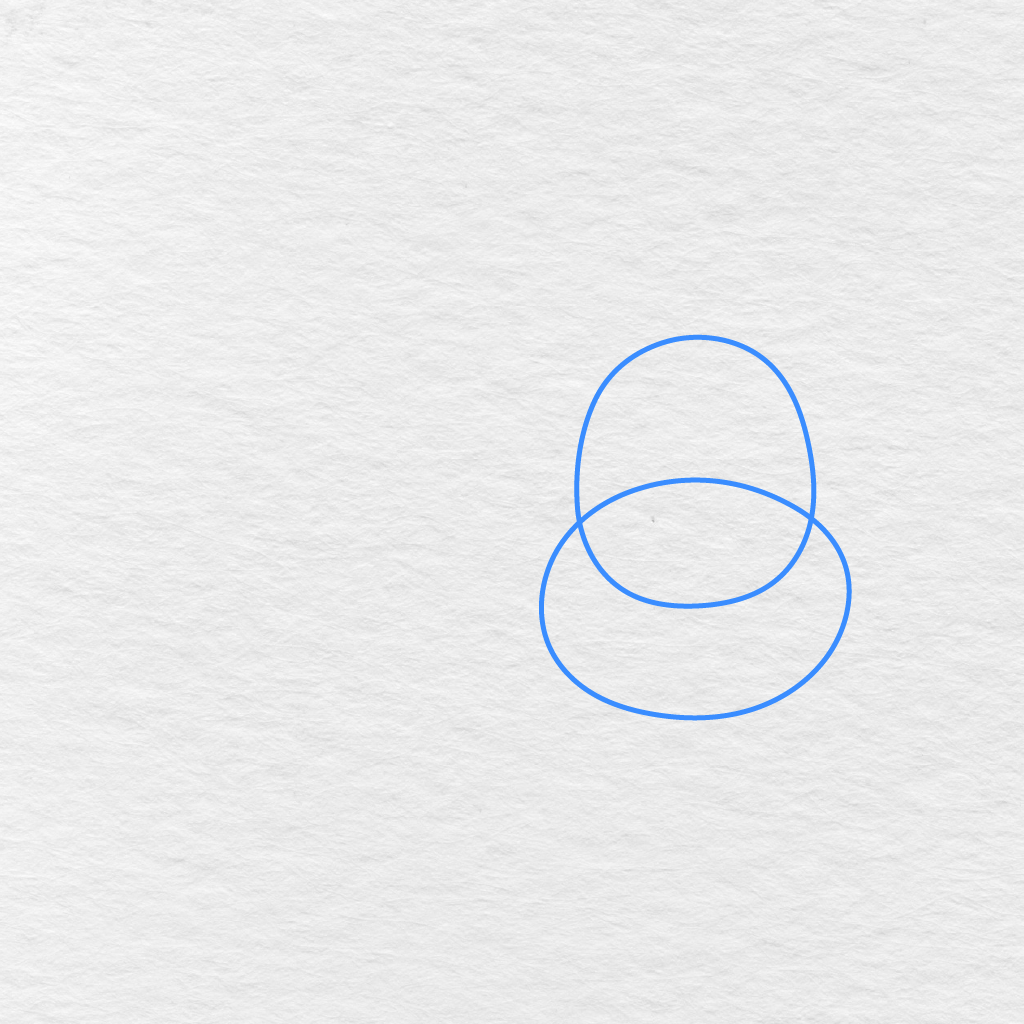
Draw the Head and Muzzle
Start by drawing a tall oval for the head. Make sure to begin near the right edge of the page so that there is enough room to draw the body.
Add a wide oval across the bottom part of the head as the muzzle.
2
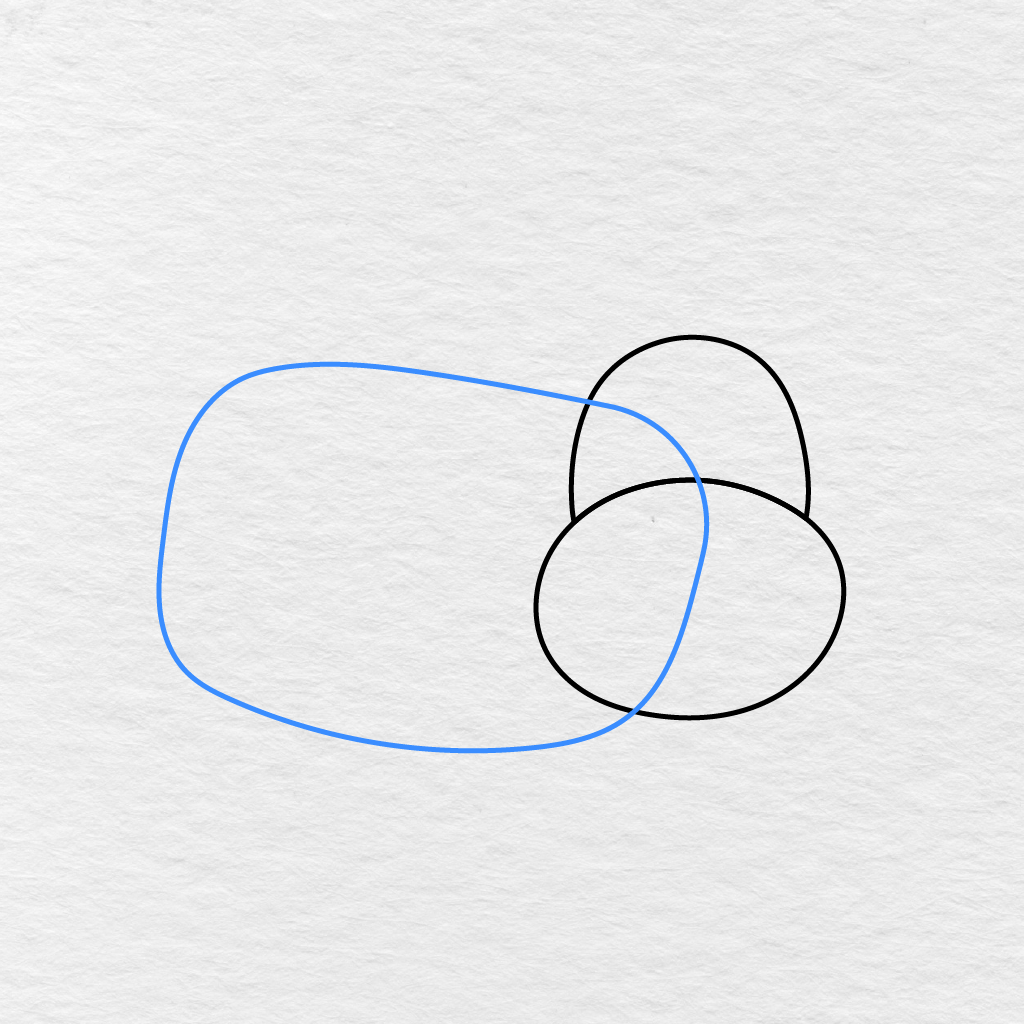
Add the Body
Draw a big rounded shape that extends to the left behind the head.
Make sure to leave room for the four legs and keep the top of the body gently curved.
3
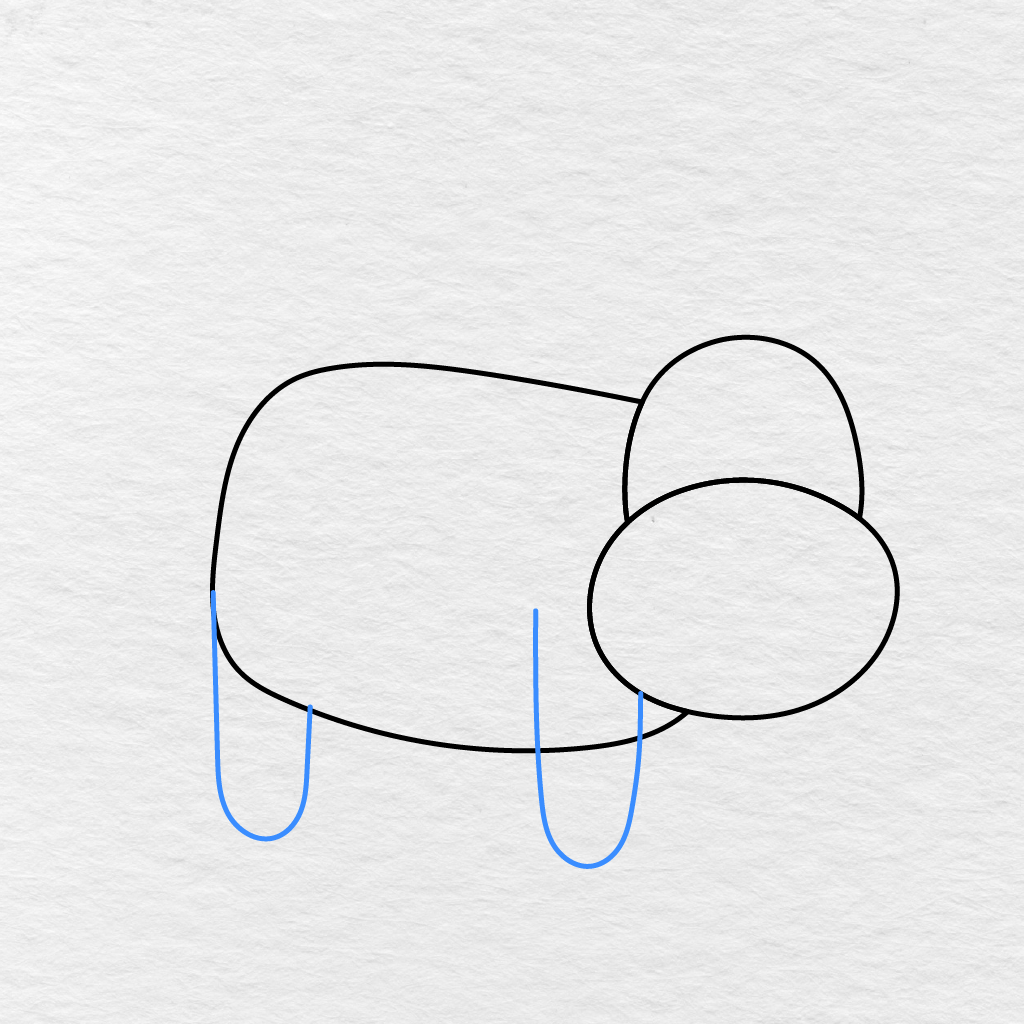
Draw the Front and Back Legs
Draw a long leg from the back part of the body and another leg from the front part of the body.
Extend both of them going downward and give each a gently curved bottom.
4
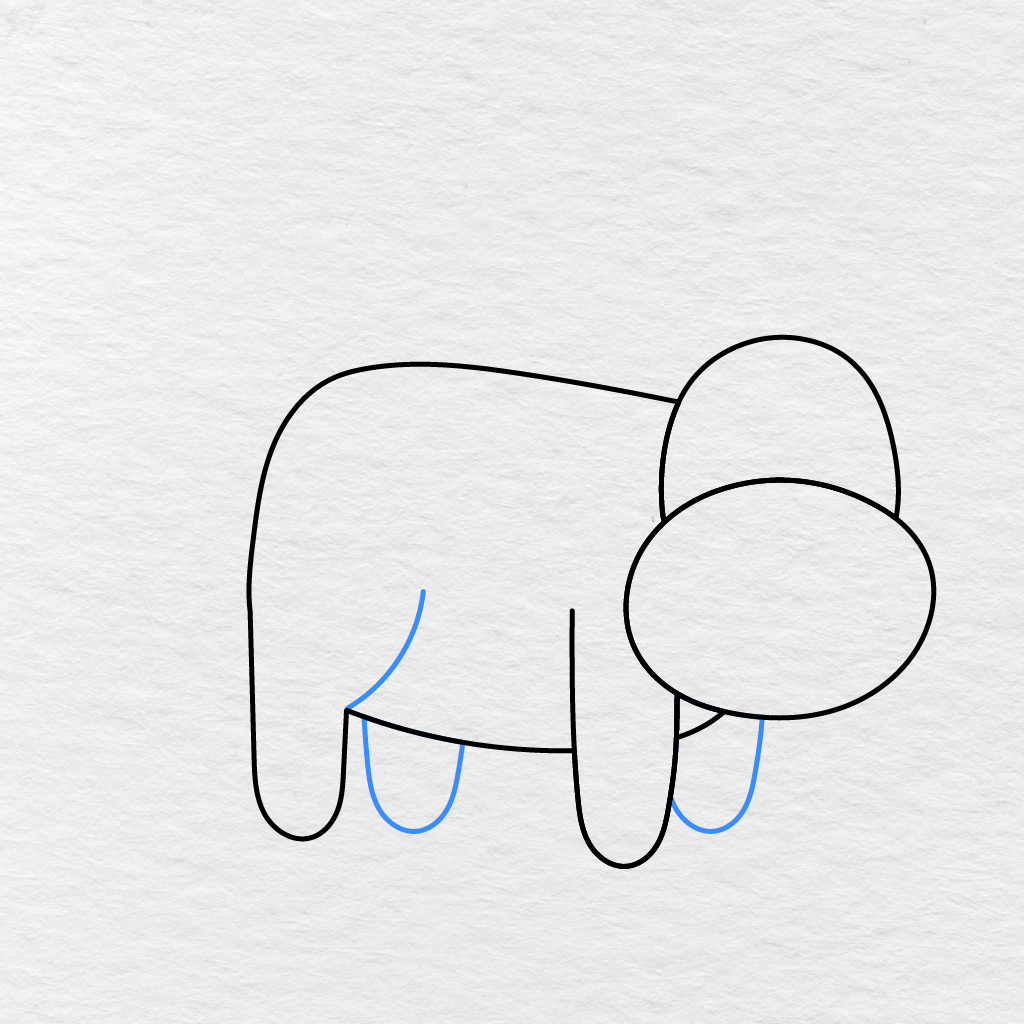
Add the Remaining Legs
Add two more legs in between the previous two legs.
Since these two legs are placed further back, only their lower parts should be visible. Add the curved line near the back leg to indicate the belly and rear part of the cow.
5
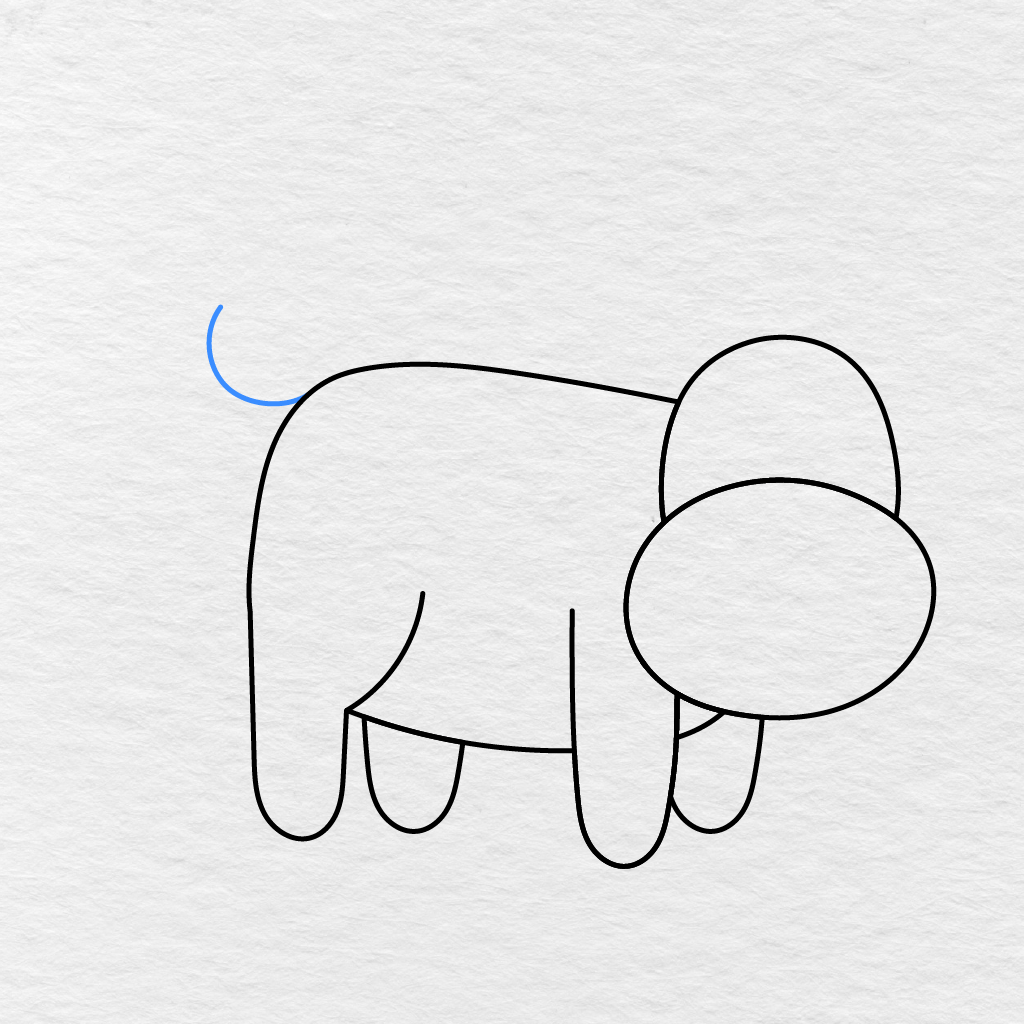
Draw the Tail
From the back end of the cow, draw a long thin curve that goes up.
Make sure to leave an opening at the end for the tuft of the tail.
6
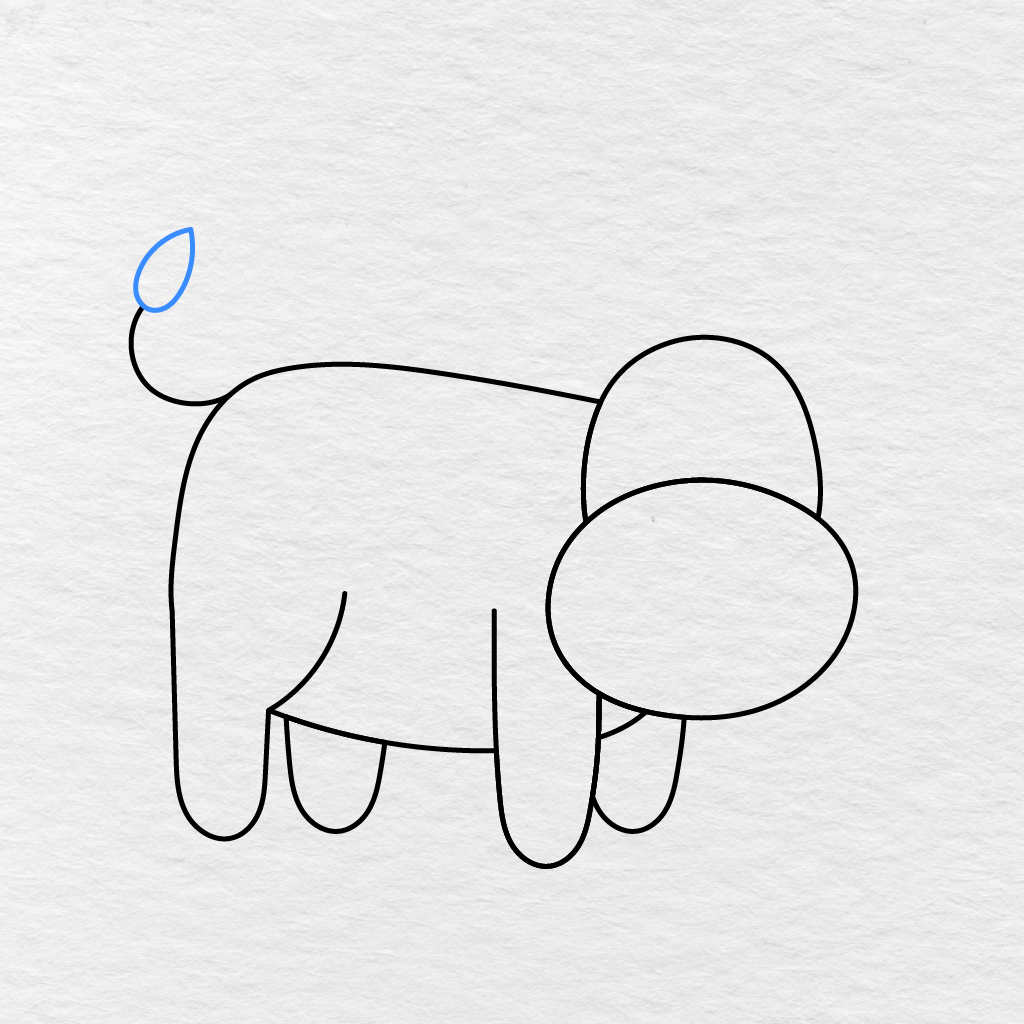
Add the Tail Tuft
Add a pointed leaf shaped mark at the end of the tail.
Attach it to both sides of the tail curve.
7
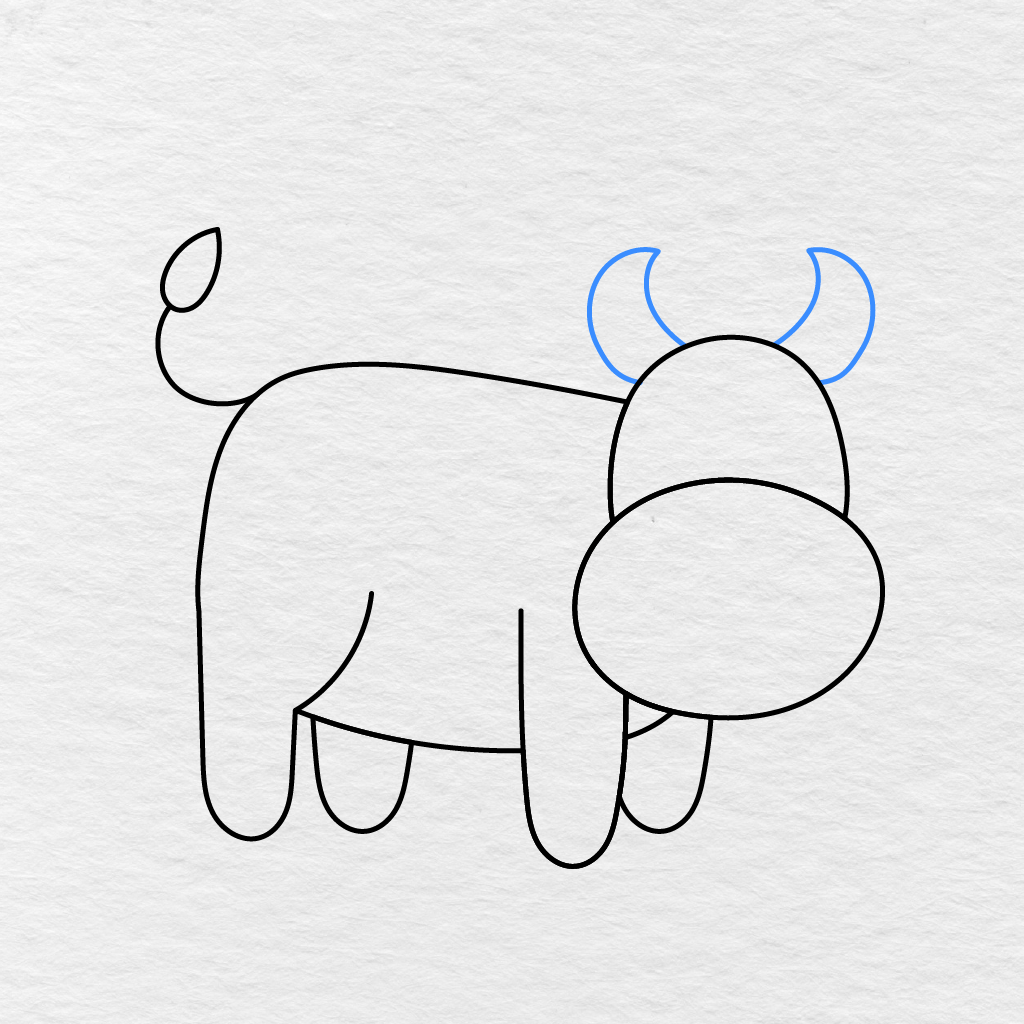
Draw the Horns
Add two horns on the top of the head.
Start them close to the head and curve them outwards toward the pointed tips.
8
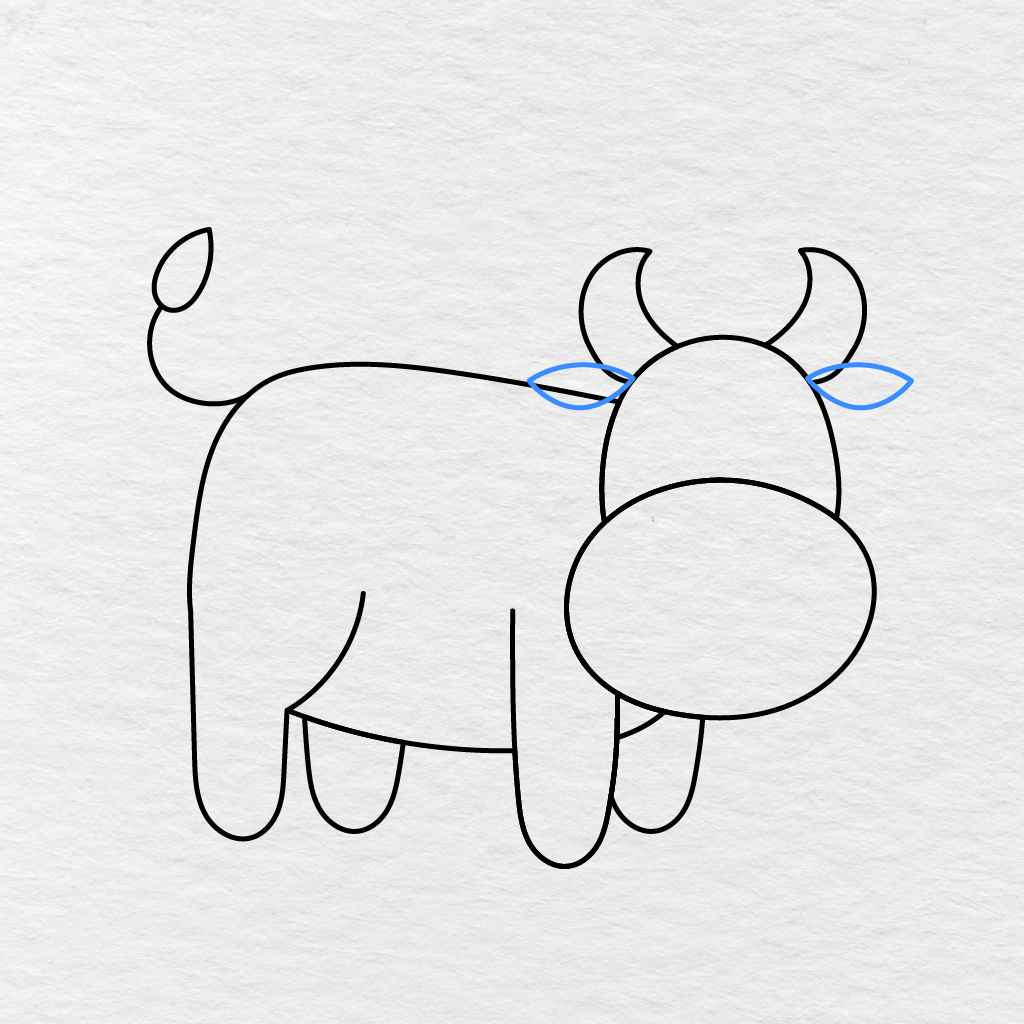
Add the Ears
Add one ear on each side of the head below the horns.
Make them leaf shaped and slightly angled outwards.
9
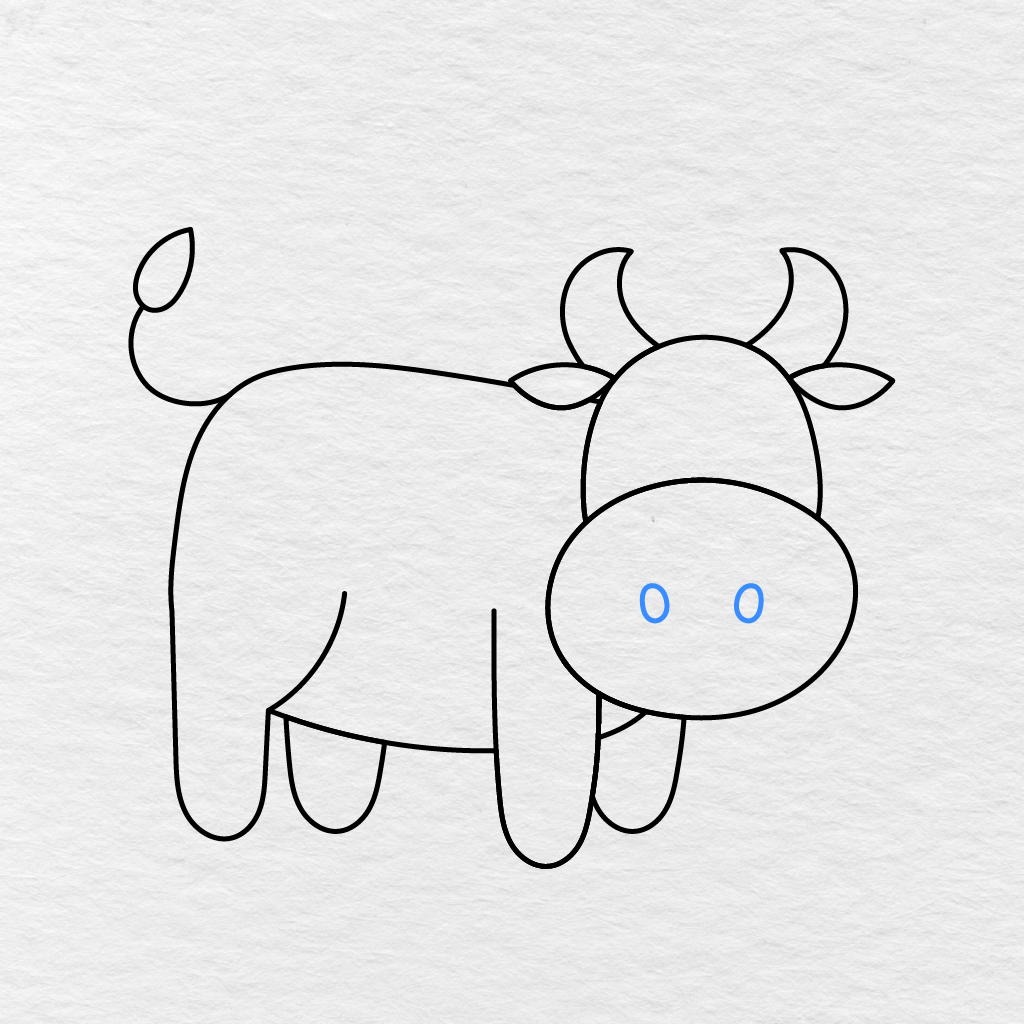
Draw the Nostrils
Draw two small vertical ovals inside the muzzle.
Make sure to leave some space between them.
10
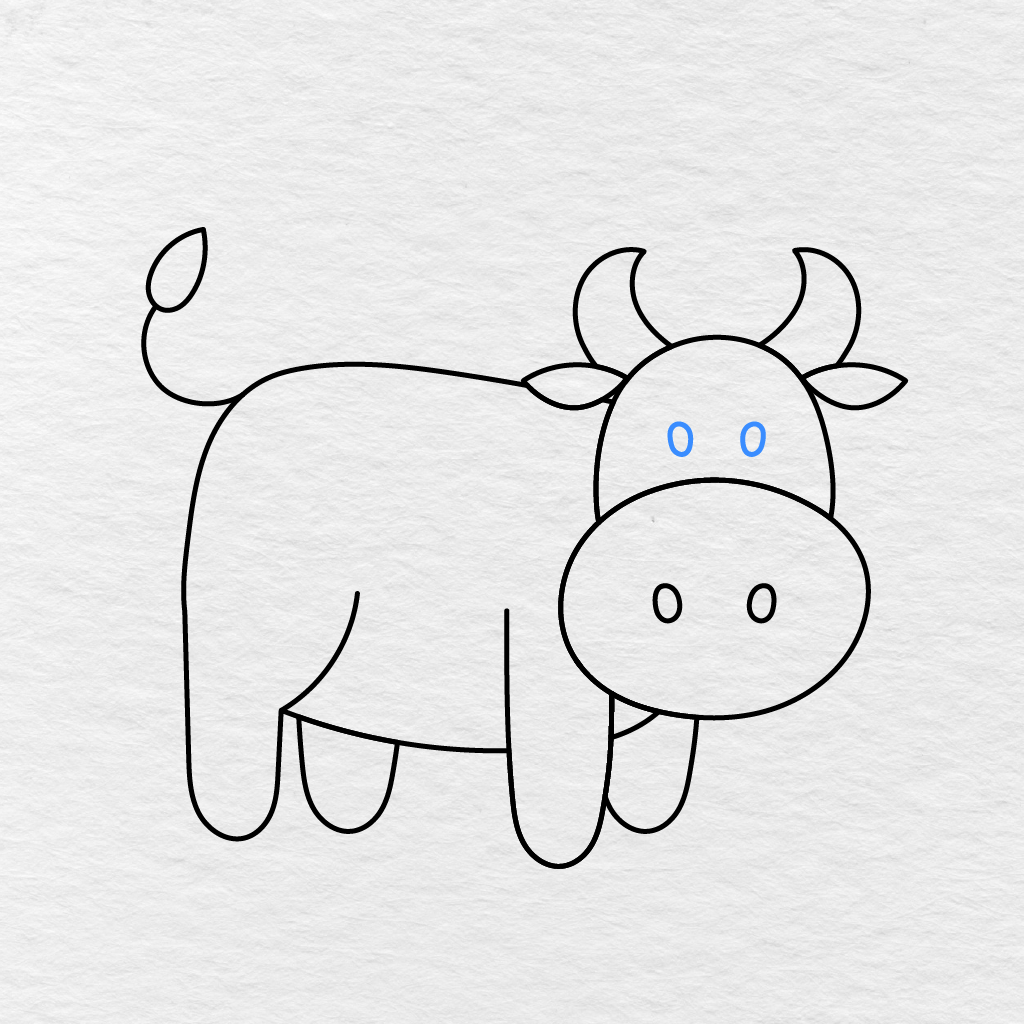
Add the Eyes
Draw two small oval eyes on the upper part of the head.
Make sure to keep them a bit closer to each other than the nostrils.
11
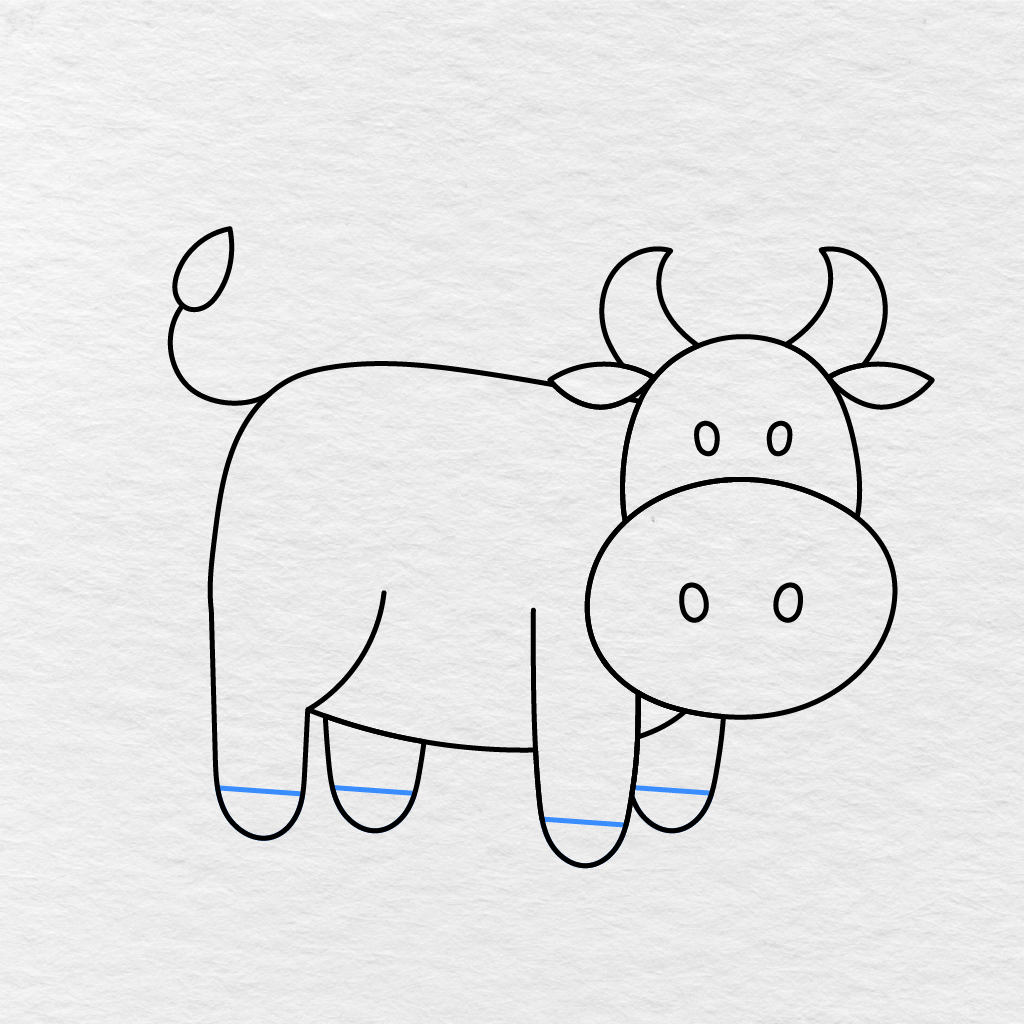
Draw the Hooves
Add a short horizontal line near the bottom part of each leg.
The four lines will separate the hooves from the lower parts of the cow’s legs.
12
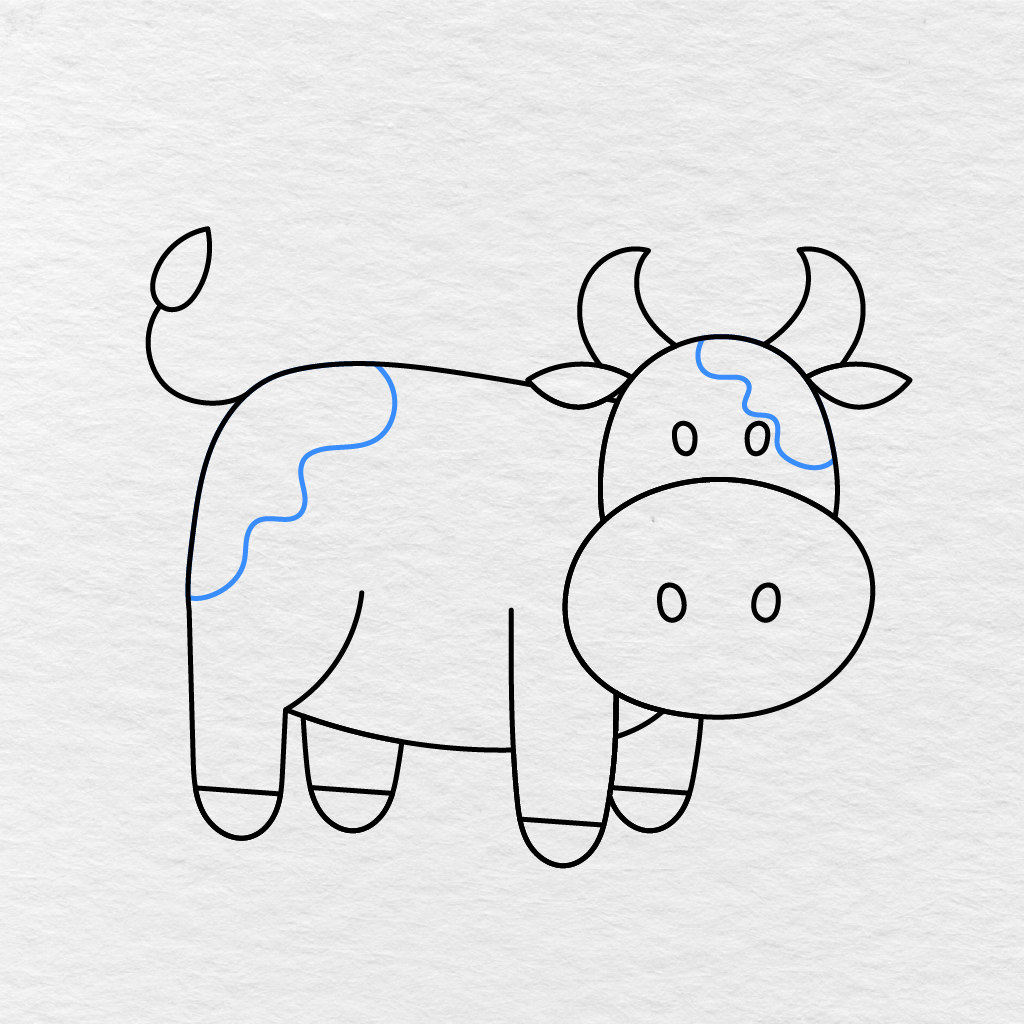
Add the Cow Spots
Add a few spots to the head and body of the cow.
The spots can be different sizes and shapes as long as they look natural. Some of the spots can continue beyond the body lines to make the pattern look more natural.
13
Color the Cow
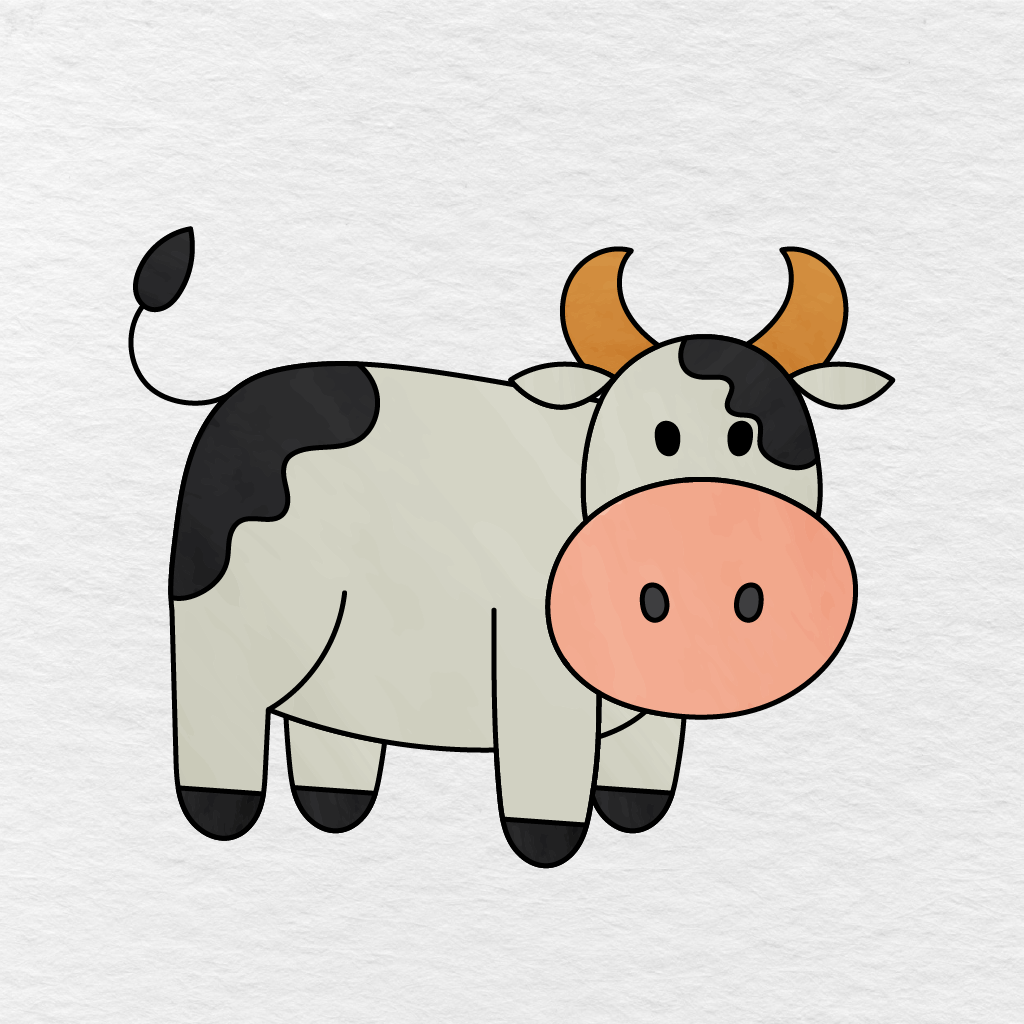
Now it’s time to color the cow. We’ve colored ours in light cream, black, pink, and orange.
We’ve used black for the spots, eyes, tail tuft, and the hooves. The muzzle is pink, the horns are orange, and the body is a light cream. You can use similar colors or go with your own unique cow design.
Your cute little cow is all set to go to the farm!
Frequently Asked Questions
How do you draw a simple cow step by step?
The cow drawing guide walks through 13 easy steps, starting with two overlapping oval shapes for the head and body, then adding the legs, tail, horns, ears, nostrils, eyes, hooves, and spots one at a time. Each step focuses on just one new part, so it never feels overwhelming even for a first time artist. By the final step you will have a complete, friendly looking cow ready for color.
What supplies do I need to draw this cow?
You just need a pencil, paper, an eraser, and whatever coloring tools you have on hand, like crayons or markers. There is no special equipment required, which makes this an easy activity to set up at home or in a classroom. The blue lines in each step image show exactly what to add next.
Is this cow drawing guide good for kids and beginners?
Yes, it was written specifically with children and beginning artists in mind, using simple oval and rounded shapes rather than anything complicated. Cows are already a familiar animal for many kids thanks to farms, storybooks, and the milk and dairy products they know, which makes this a fun, approachable subject to draw.
Does this guide show how to draw cow horns and spots?
Yes, after the body, legs, and tail are in place, the steps move on to drawing the horns, ears, nostrils, and eyes, followed by the hooves and a set of cow spots before the final coloring step. Those details are what turn the basic oval shapes into a recognizable cow, whether you picture a classic dairy cow or a shaggier, horned breed.
Can I print this as a cow coloring page instead of drawing it myself?
Yes, a printable cow drawing PDF is included at the end of the guide, so kids who would rather color than draw from scratch can go straight to that version. Click the image or the PDF download button to open it, then print it out and color the cow using crayons, markers, or colored pencils.
What colors work well for the finished cow drawing?
A classic black and white spotted pattern is an easy, recognizable choice for coloring this cow, but brown, tan, or reddish spots work just as well if you want to try a different breed's look. The horns, hooves, and nose can be colored in a darker shade to help them stand out from the rest of the body.
Easy Cow Drawing Step by Step
Grab your pencil, paper, eraser, and coloring tools. You can always sketch lightly until you get to your final lines.
Printable Cow Drawing PDF
We’ve put together a printable cow drawing PDF below that you can color or use as a reference when you want to draw another cow. Simply follow the lines and add all the details mentioned in this tutorial. This cow drawing includes the spots, ears, horns, hooves, and the rest of the cow’s body details.
If you’d like to color more animals, make sure to check out our Animal Coloring Pagescollection.
Did you add traditional black spots or did you come up with a unique design? Make sure to let us know in the comments below and share this cow drawing tutorial with another parent, teacher, or friend.
Printing tips
Choose Fit to page and plain white paper. Every sheet is US Letter and prints correctly on A4 with default settings.
How to print our printables ›