How to Draw a Heart
A heart is an easy shape to use in just about any craft. It shows up in cards and class projects, on valentine pages and in little drawings in the margins of notebooks. In this tutorial, you will learn how to draw a heart in five easy steps by starting with two circles and simplifying them into one clean outline.
Using the circle method is great for young children or for anyone just learning to draw a heart because it gives good guidance for both of the rounded sides. Simply follow the images shown below, drawing lightly so that the guidelines can easily be erased later.
Once the circles are in place, only two long curved lines are needed to complete the heart. The left and right sides do not have to be exactly the same, and it’s all part of the charm.
Want it on paper?
Every step on one sheet, sized for US Letter and A4.
1
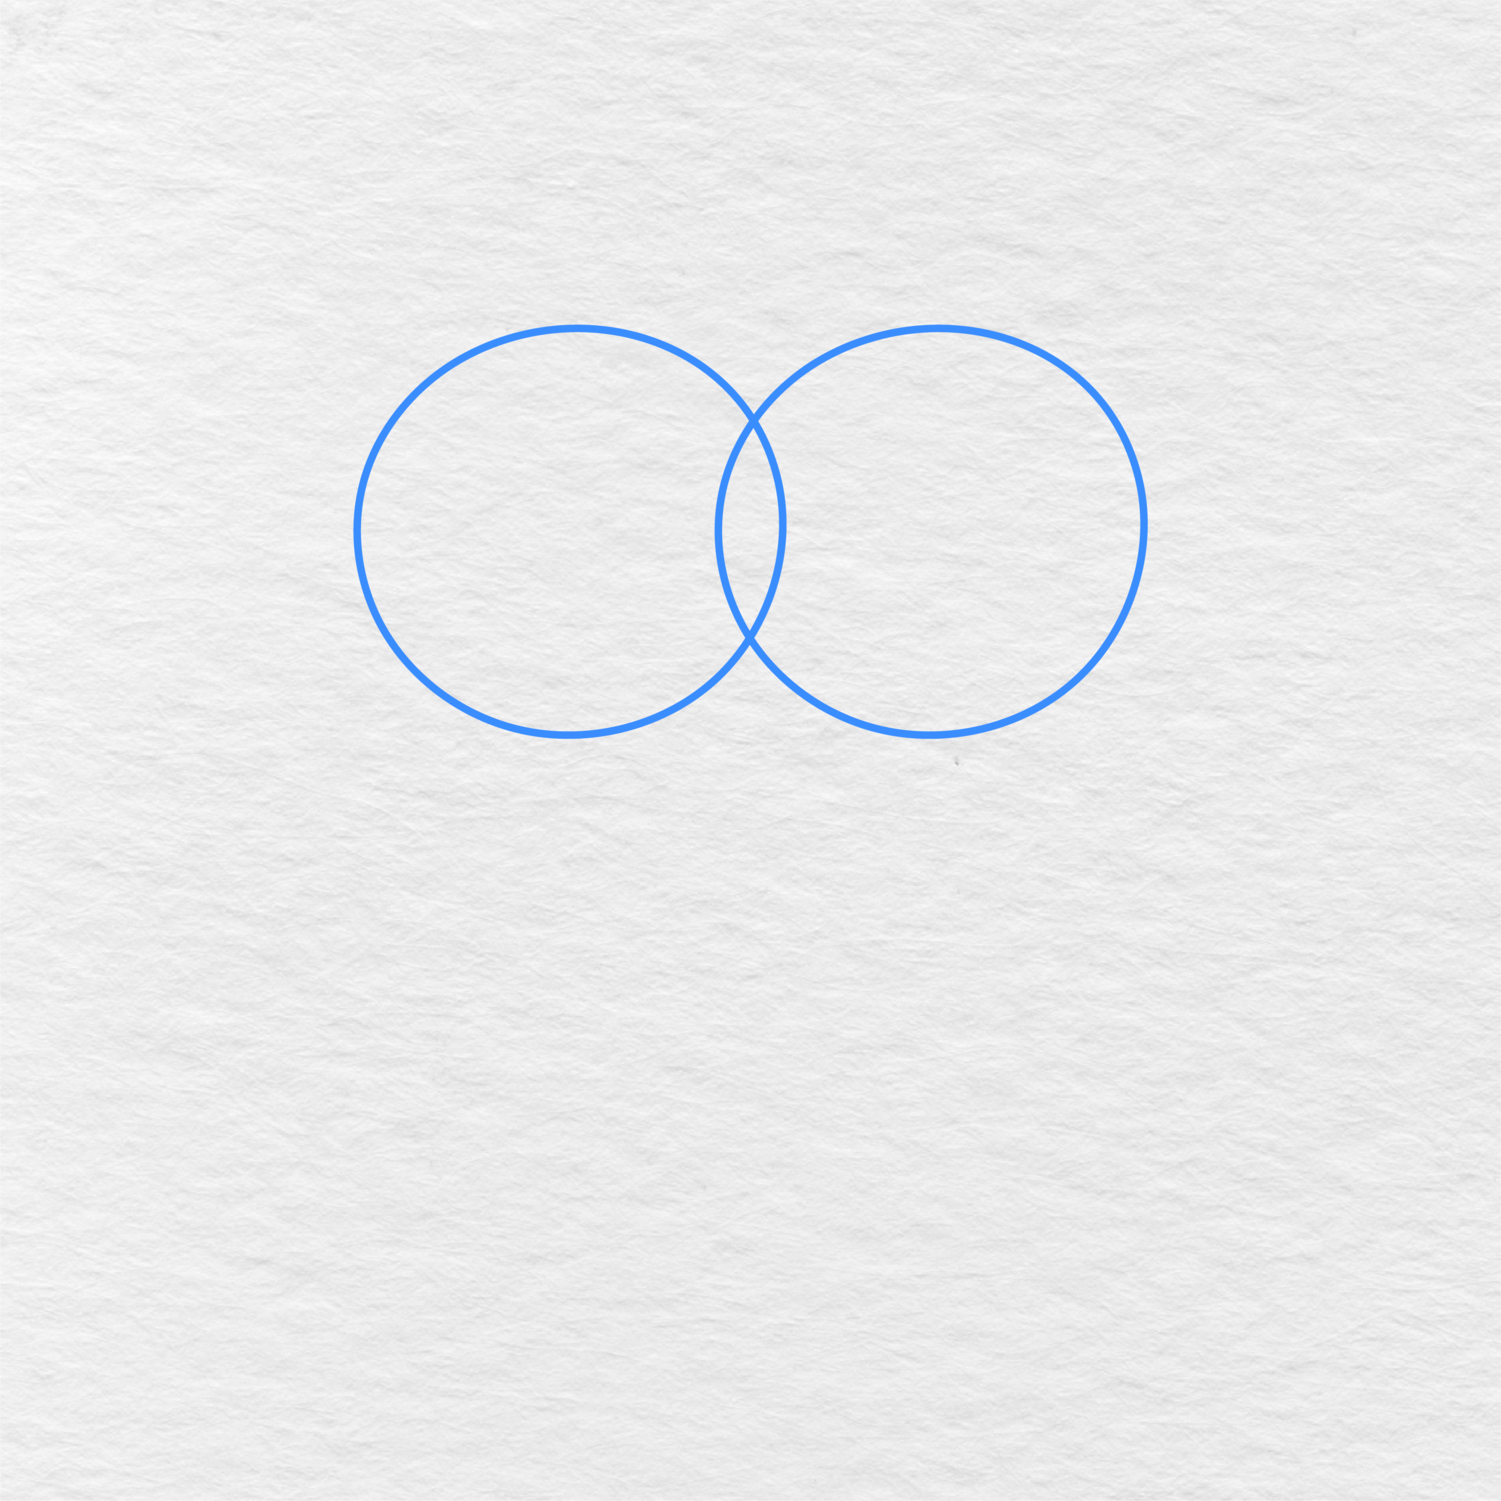
Draw Two Overlapping Circles
Draw two circles side by side, near the top of the page. The two shapes should overlap in the middle.
Make sure to keep them approximately the same size because they will represent the top rounded edges of the heart.
2
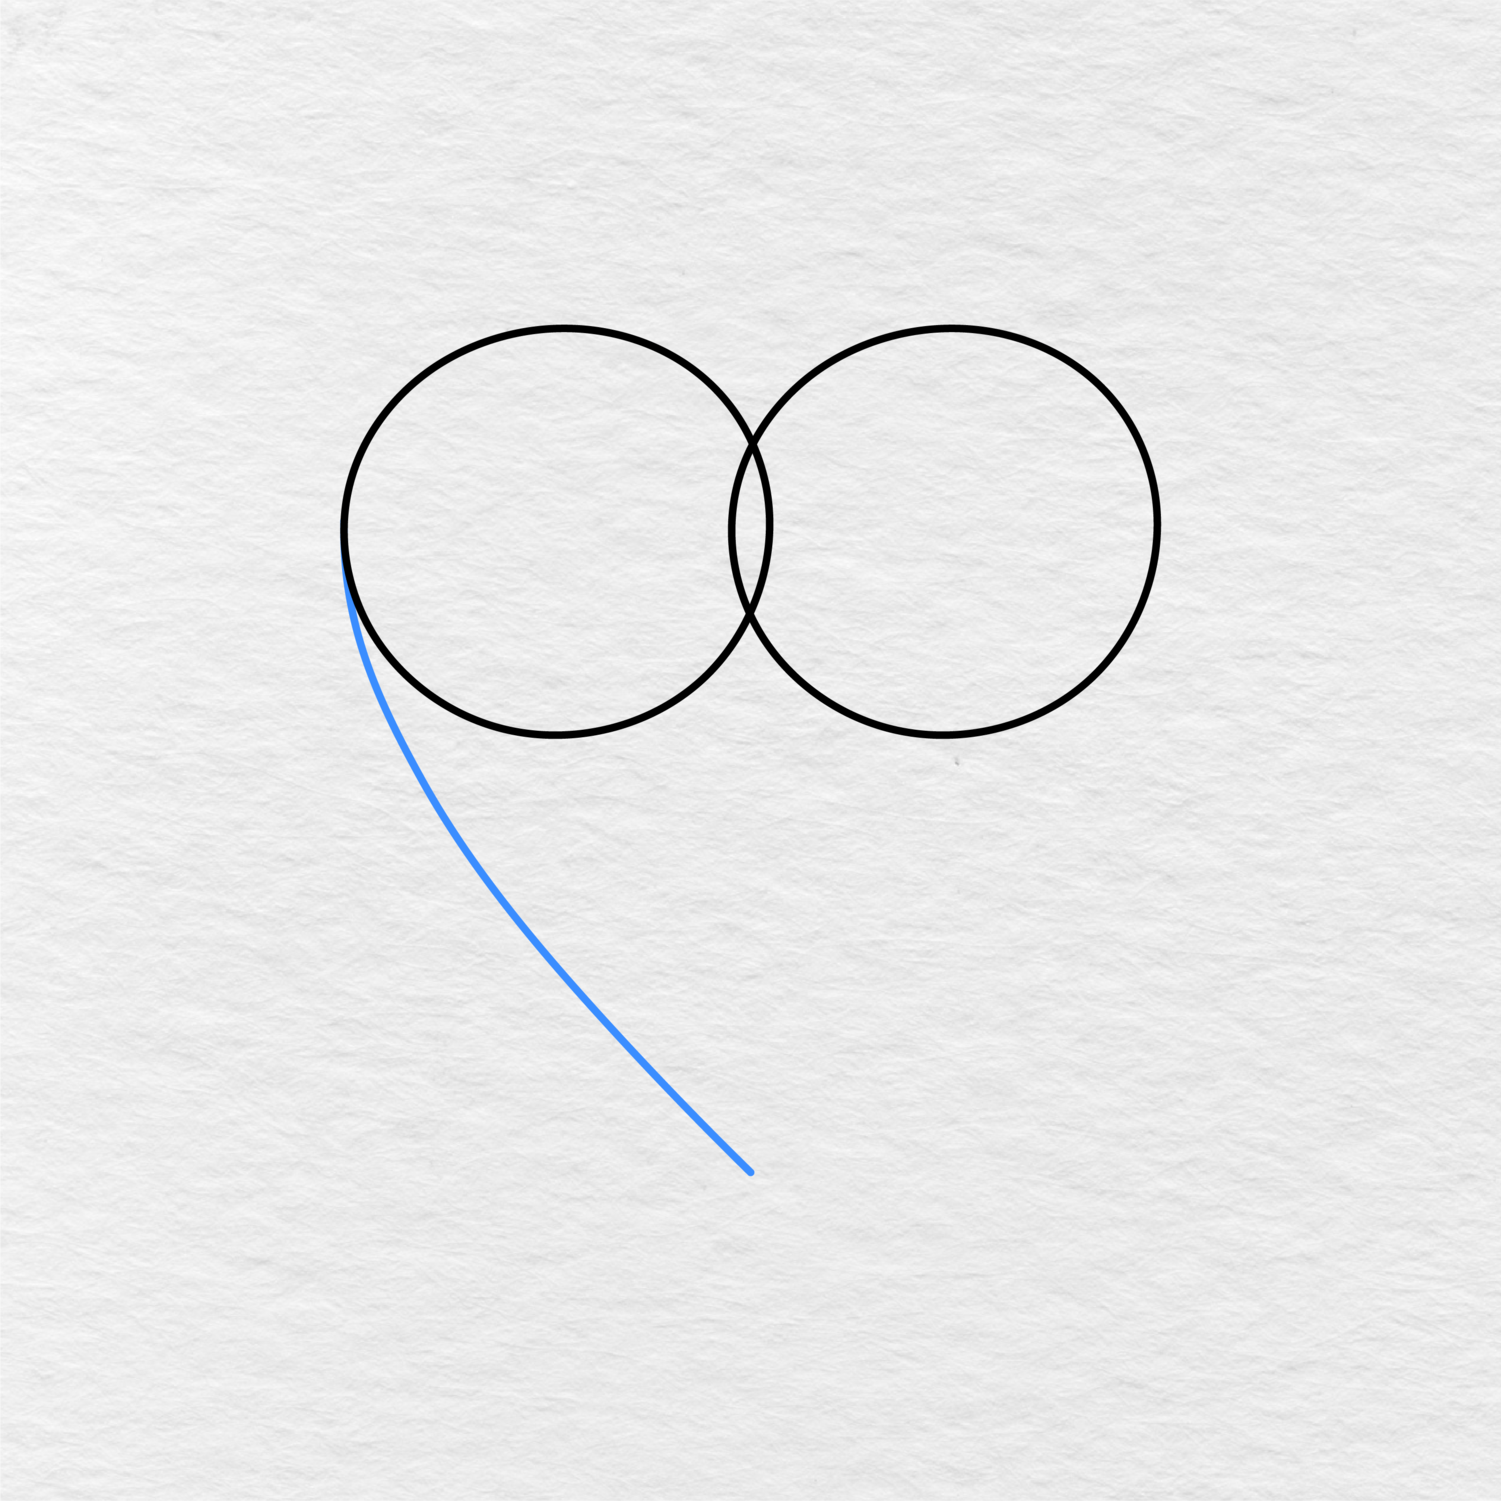
Draw the Left Side of the Heart
Begin the left side of the heart at the lower outside edge of the left circle. Make a long curved line going down and to the middle of the image. This curve should end just below the two circles.
It will become the left side of the heart, so it should come close to the middle at the bottom.
3
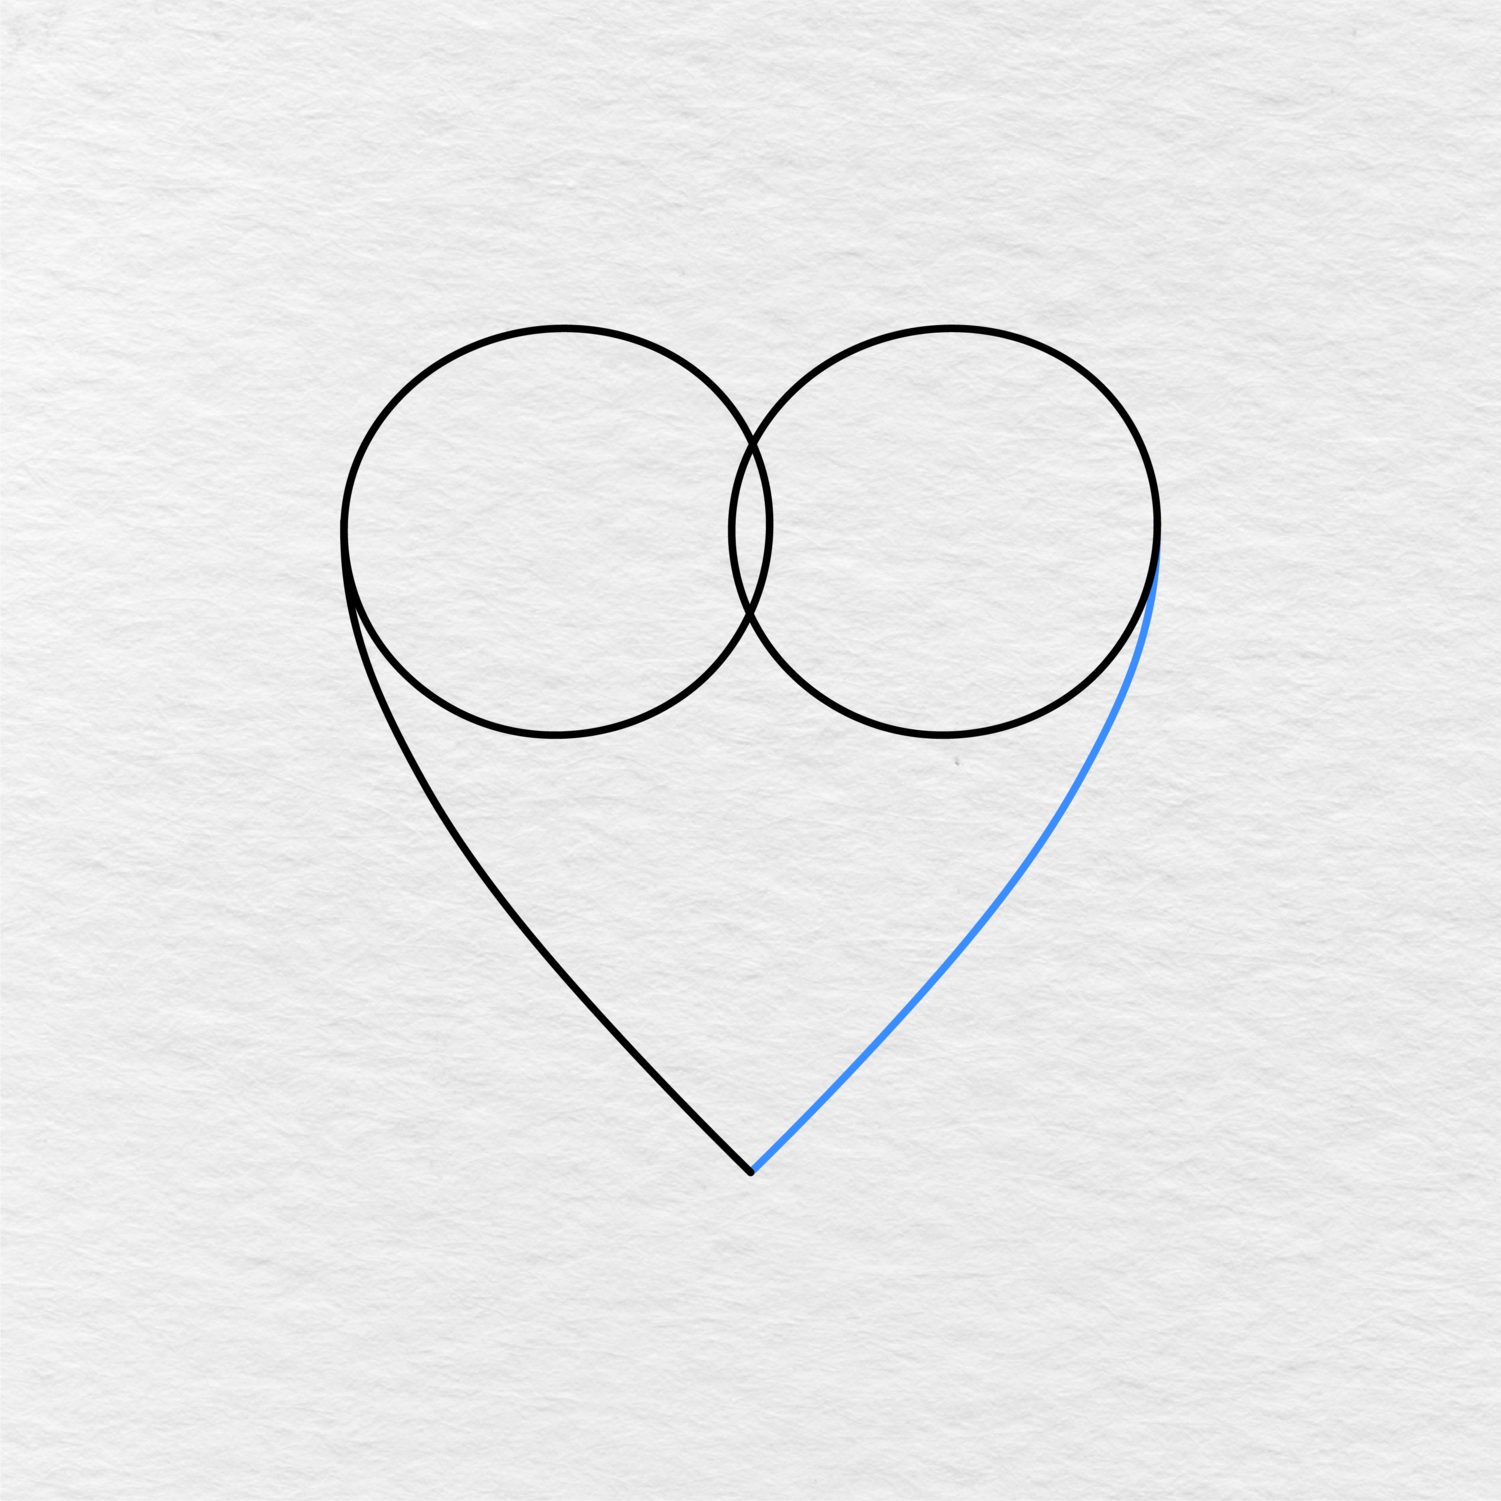
Complete the Right Side
Do the same thing on the right side of the image. Begin at the lower outside edge of the right circle and make a long curved line going down to meet the same bottom point.
The right side should mimic the left, but it doesn’t have to be completely symmetrical.
4
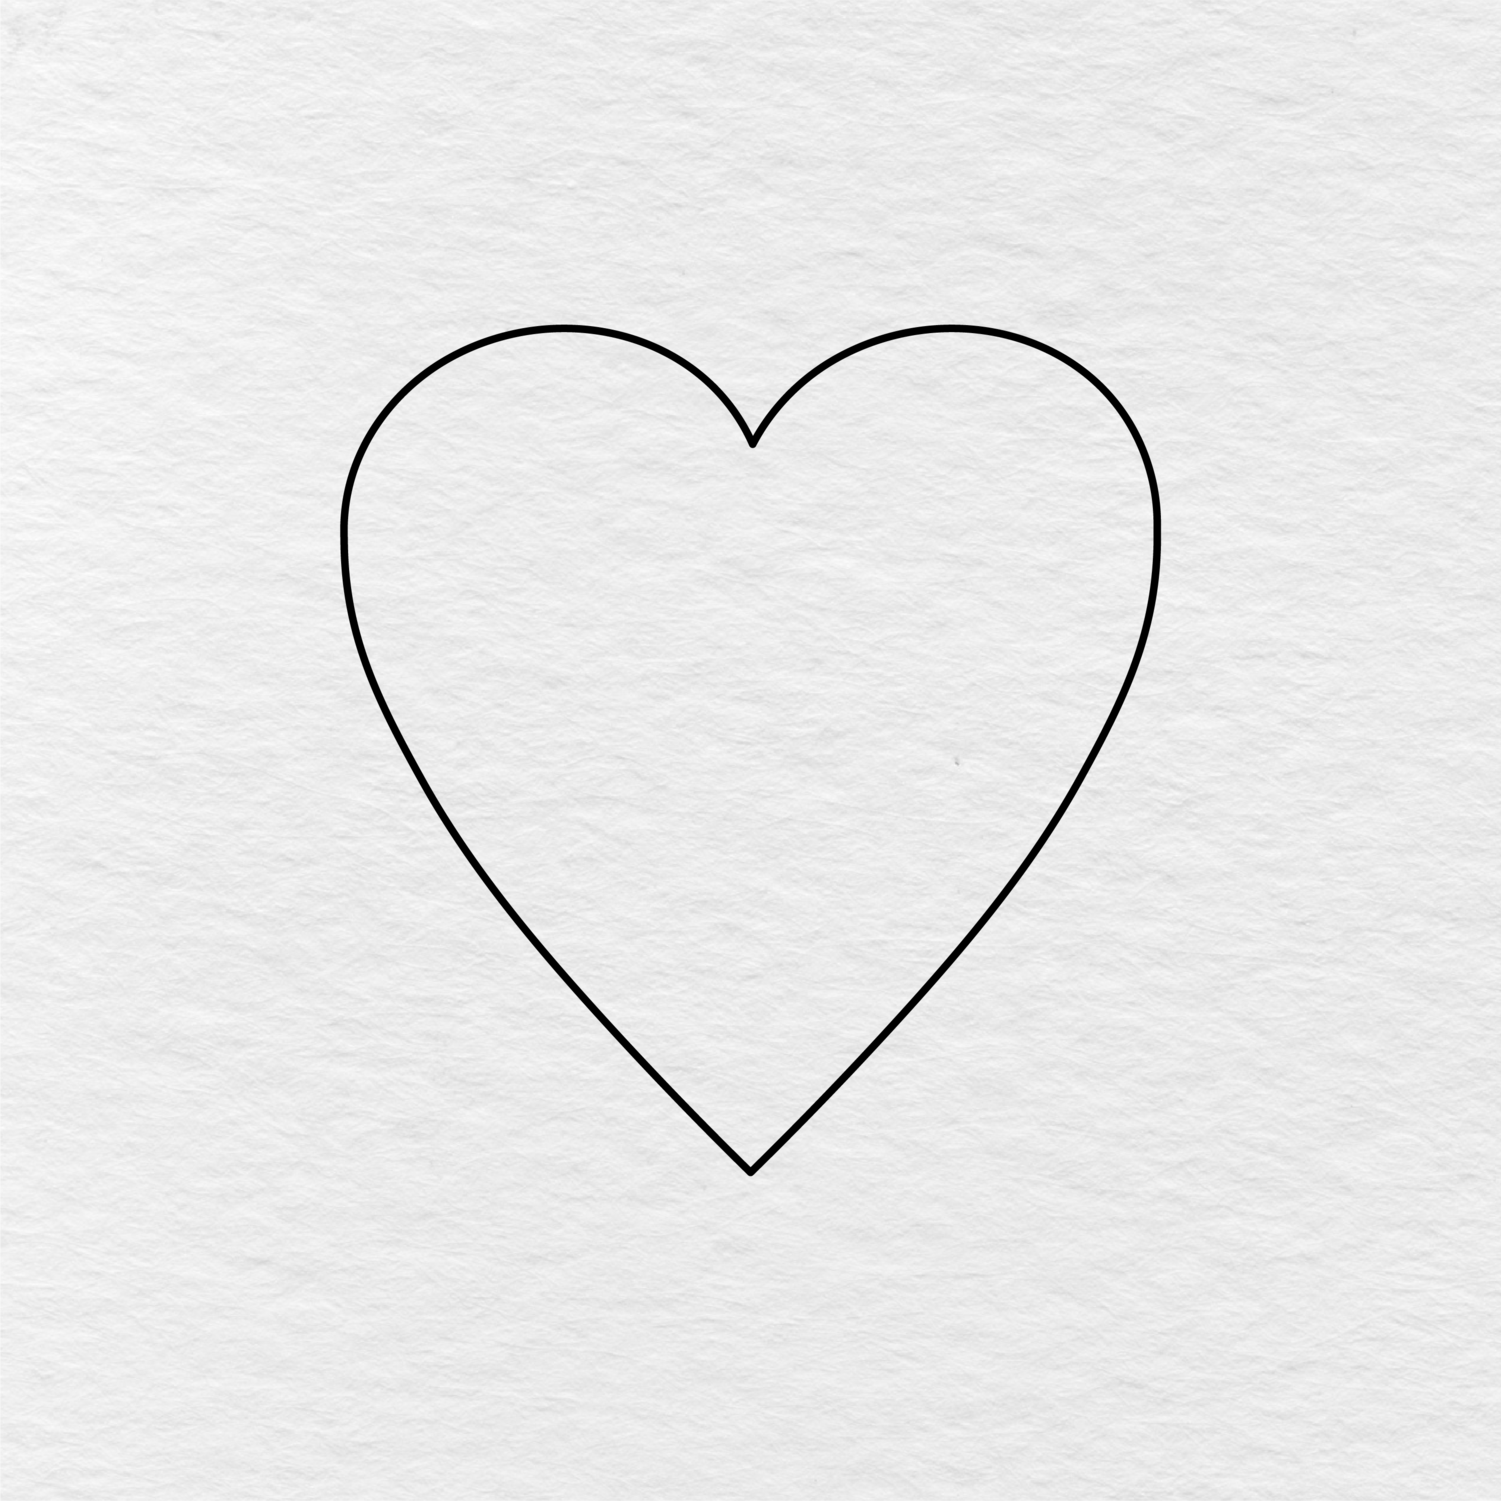
Clean Up the Image
Erase the parts of the circles inside the heart shape as well as any other guidelines that may be inside it. Keep the rounded top edges and the two long curved lines at the bottom. Once all unnecessary marks have been erased, a simple heart outline should remain.
5
Color the Heart
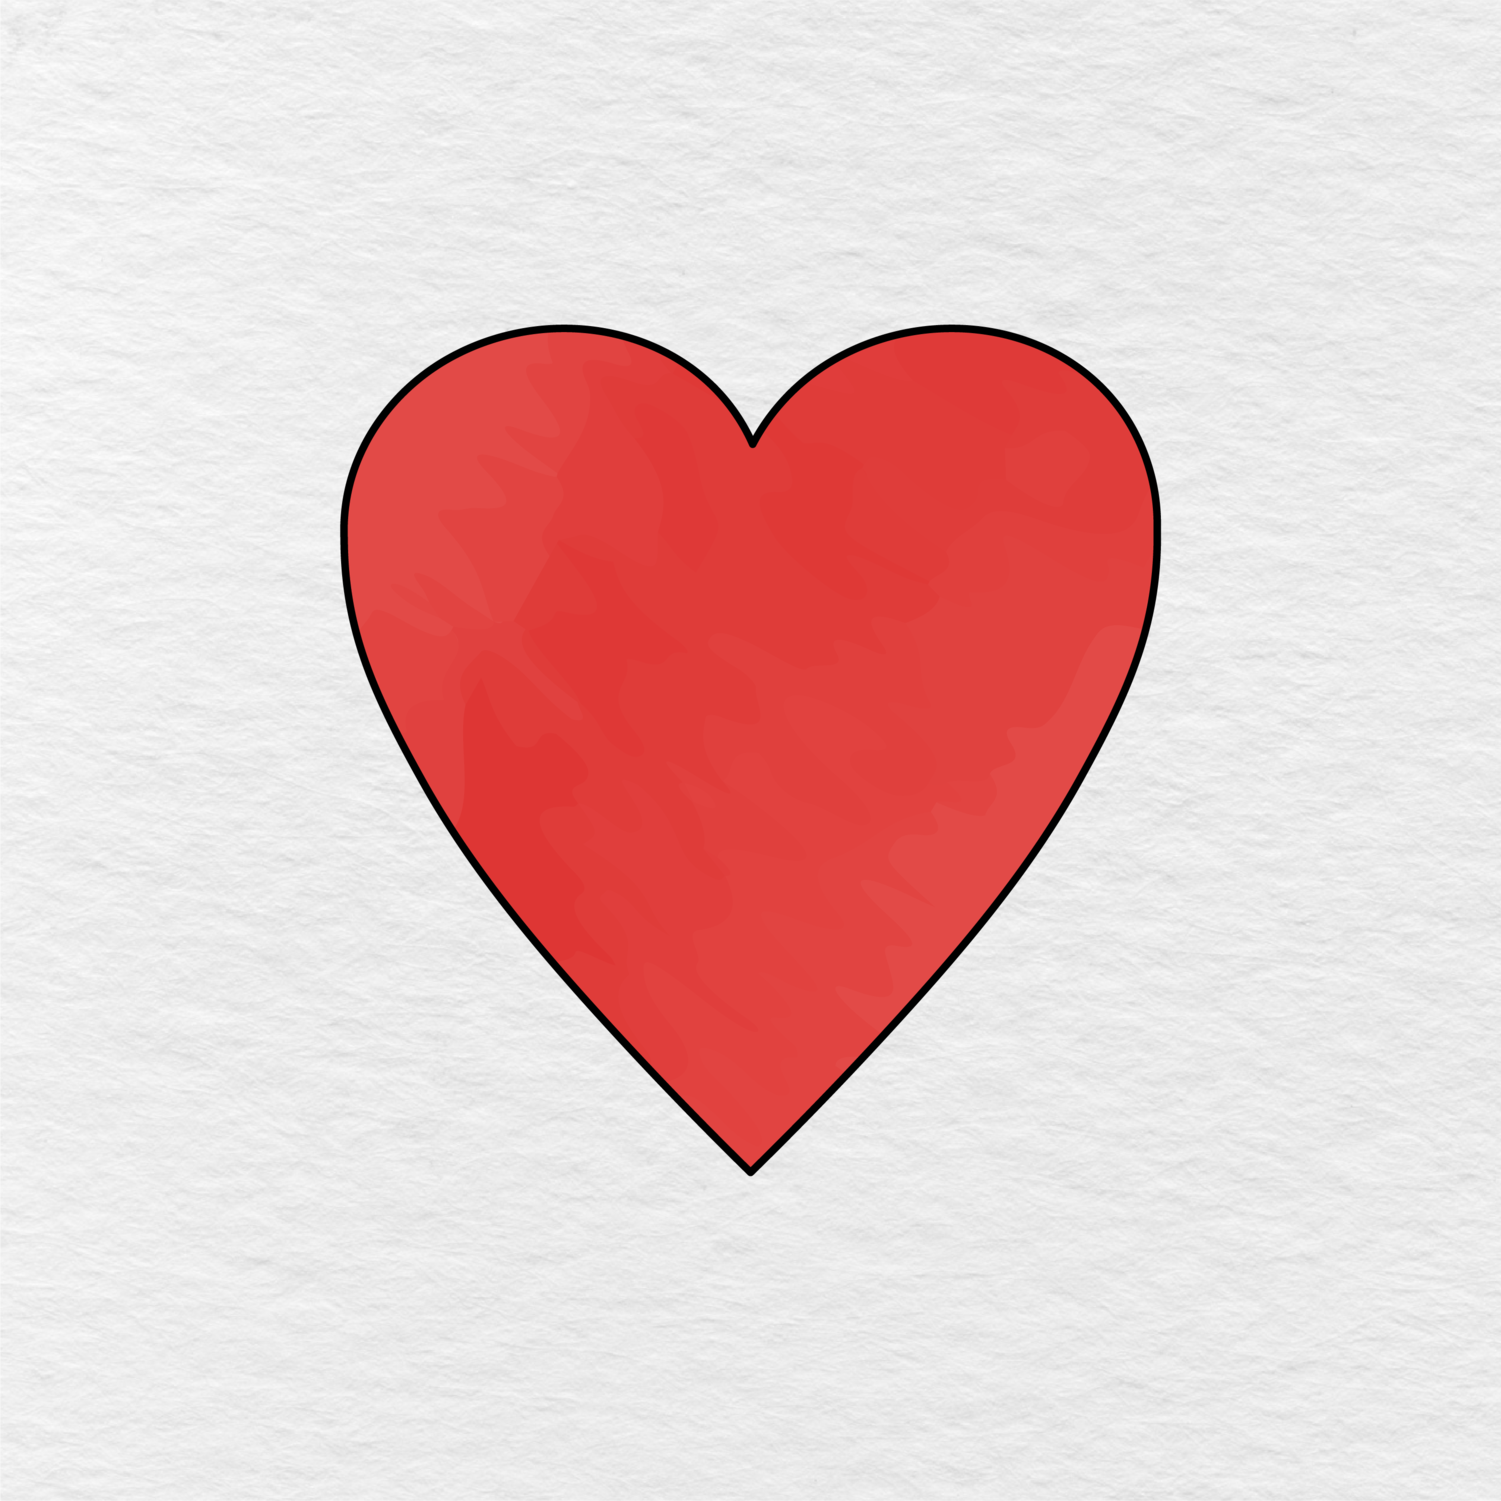
Use the image shown below as a reference and color in the heart. The pictured heart is colored red, but you can use any color you would like.
Once it has been colored in, your easy heart drawing is complete.
Frequently Asked Questions
How do I draw a heart shape step by step?
Drawing a heart breaks into five easy steps in this guide, starting with two overlapping circles at the top and then connecting them with two curved lines that taper down to a point at the bottom. Following the steps in order helps keep both sides even, even if you have never drawn a heart shape before.
Why do I start with two circles when drawing a heart?
Two overlapping circles give you the rounded bumps at the top of the heart shape, which are the trickiest part to get symmetrical if you try to draw a heart freehand in one go. Starting with circles as a guide, then connecting them with curves down to a point, makes the whole shape much easier to control.
How can I make sure both sides of my heart look symmetrical?
Drawing the two starting circles the same size and spacing them evenly apart is the biggest factor in keeping the finished heart symmetrical, since everything else is built from that base. It also helps to fold your paper in half first as a light guide, or lightly sketch a center line before starting the curves.
Can I turn my finished heart drawing into a heart coloring page?
Yes, once the pencil outline is done you can trace over it with a marker and color it in just like a heart coloring page, using a single color or a pattern like stripes or polka dots. Many kids enjoy using their own hand drawn heart this way for cards and craft projects instead of printing one from a coloring page.
Is this heart drawing guide good for valentine cards and class projects?
Yes, a simple hand drawn heart works great as the centerpiece of a homemade valentine card or a quick class art project, and this guide keeps the shape looking neat and even in just five steps. It is quick enough to repeat several times if you need multiple hearts for a bigger project.
Do I need any special tools to draw a heart shape?
No, all you need is a pencil, an eraser, and a sheet of paper, with crayons, markers, or colored pencils on hand if you want to color the finished heart. The steps are simple enough that no rulers, compasses, or other special tools are required.
Easy Heart Drawing Step by Step
Before getting started, make sure you have a pencil, some paper, an eraser, and something to color with.
The blue lines in the images below indicate the new lines to add at each step.
Printable Heart Drawing PDF
You can also print the image below as a coloring page. The link is shown beneath it, and the heart is shown in black and white so that children can use it as a guide when they want to color or draw a heart.
If you enjoyed this heart drawing activity, let us know in the comments below. And don’t forget to share this page with another parent, teacher, or student!
Printing tips
Choose Fit to page and plain white paper. Every sheet is US Letter and prints correctly on A4 with default settings.
How to print our printables ›